25 Memory Box Ideas DIY Paint Ideas for 2026
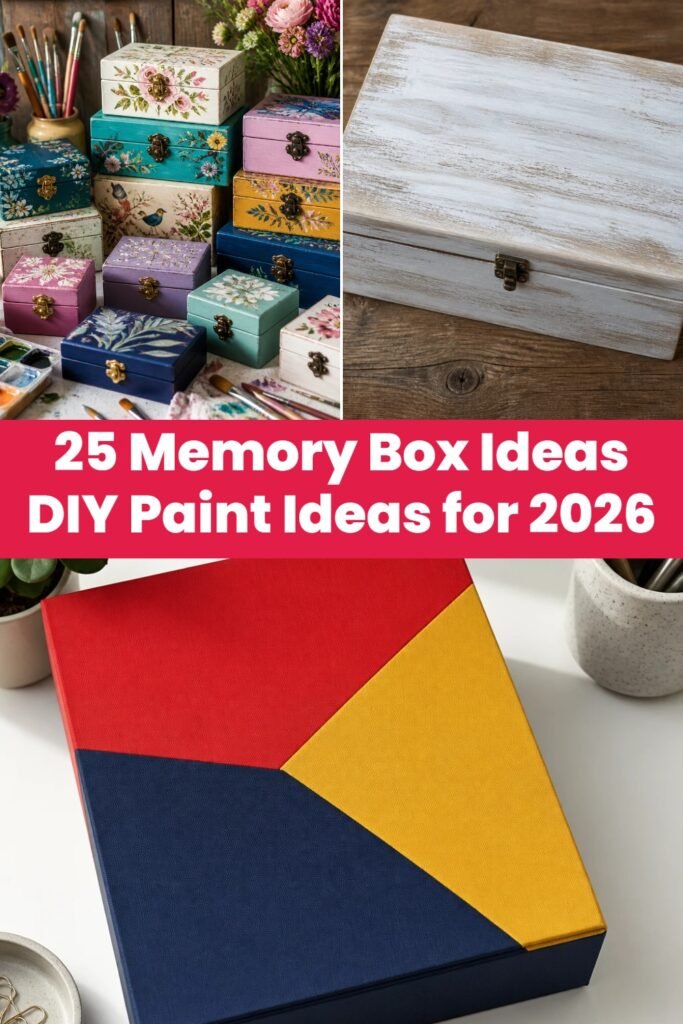
I’ve always loved creating personalized keepsakes, and memory boxes are one of my favorite projects to customize with paint. In 2026, I’m excited to share 25 DIY paint ideas that transform ordinary boxes into cherished treasures. These ideas offer a range of styles from simple elegance to bold statements that I’ve tested and found truly inspiring.
Key Takeaways
- Personalizing memory boxes with paint adds sentimental value and creative expression.
- Experimenting with colors, stencils, and textures can customize your box perfectly.
- Incorporating mixed media like decoupage or metallic paints enhances visual appeal.
- Layering paint and protective finishes ensures durability for long-lasting keepsakes.
- Following a planned design process helps achieve professional-looking results at home.
1. Classic Whitewashed Memory Box
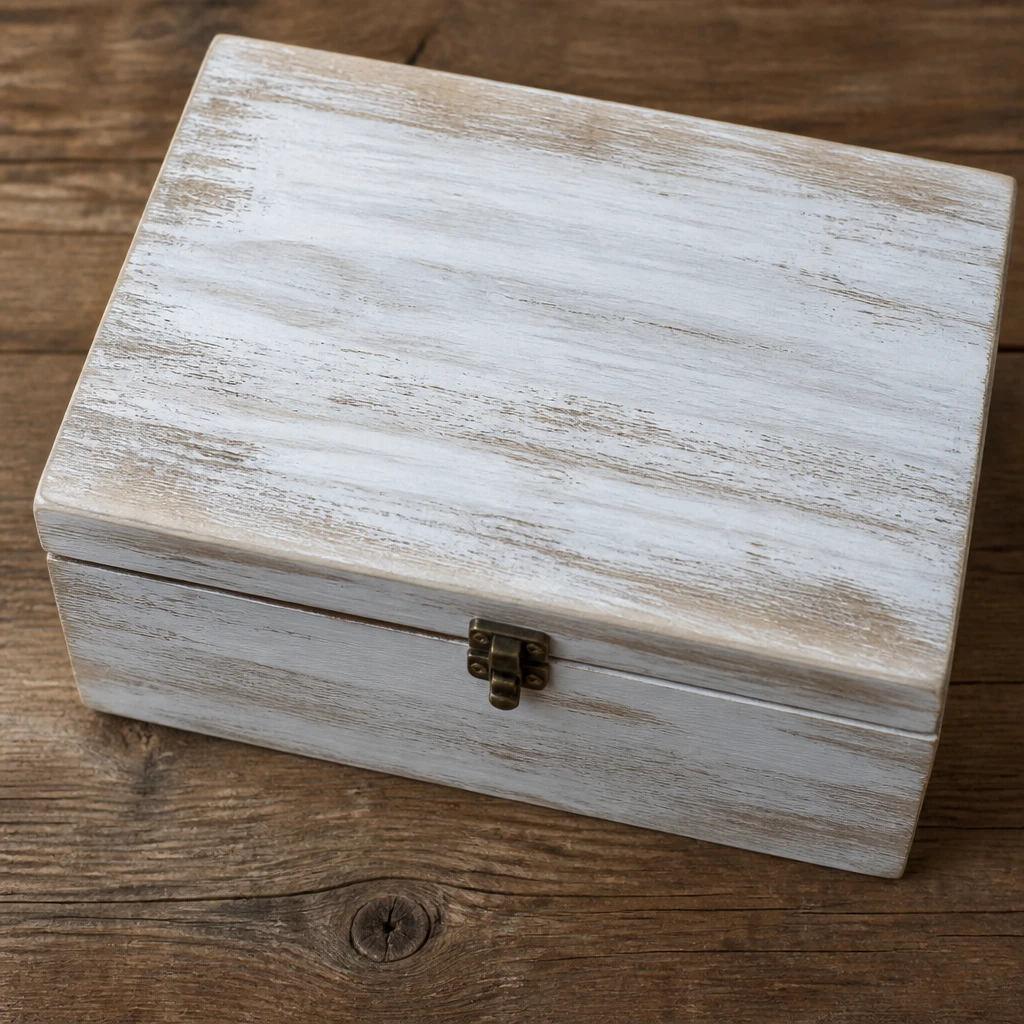
I love the timeless look of a whitewashed memory box because it feels both rustic and elegant. I use watered-down white acrylic paint to create that soft, transparent effect that lets some natural wood grain peek through. This is a perfect choice when I want a subtle base to build upon with decorative elements later.
Pro Tip: Dilute your white paint with water to achieve a perfect translucent whitewash effect.
2. Color Blocked Geometric Design
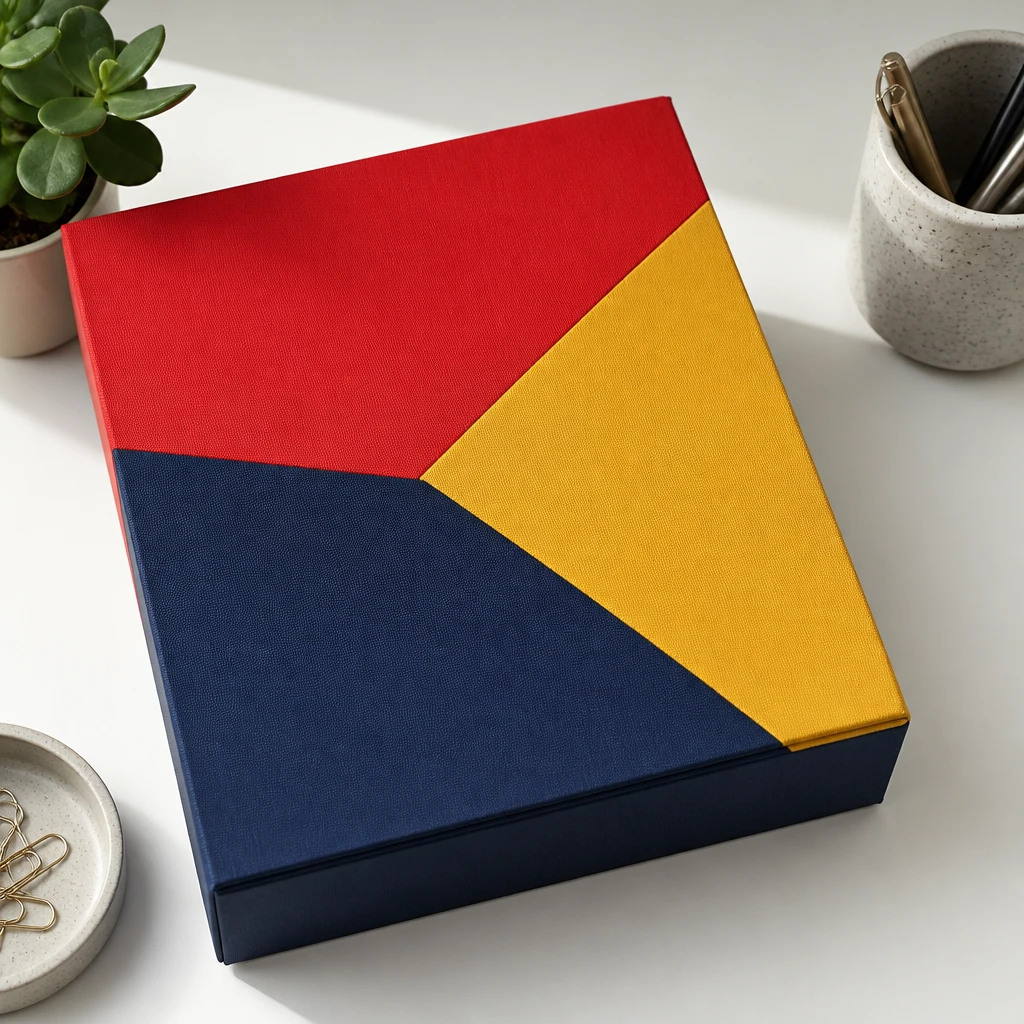
I find that using painter’s tape to create geometric shapes on a memory box makes a modern statement. Choosing a bold palette of contrasting colors creates sections that stand out crisply against one another. It’s a fun way I break away from traditional patterns and add a contemporary vibe.
Pro Tip: Apply painter’s tape carefully to get crisp, clean lines for geometric shapes.
3. Floral Hand-Painted Motifs
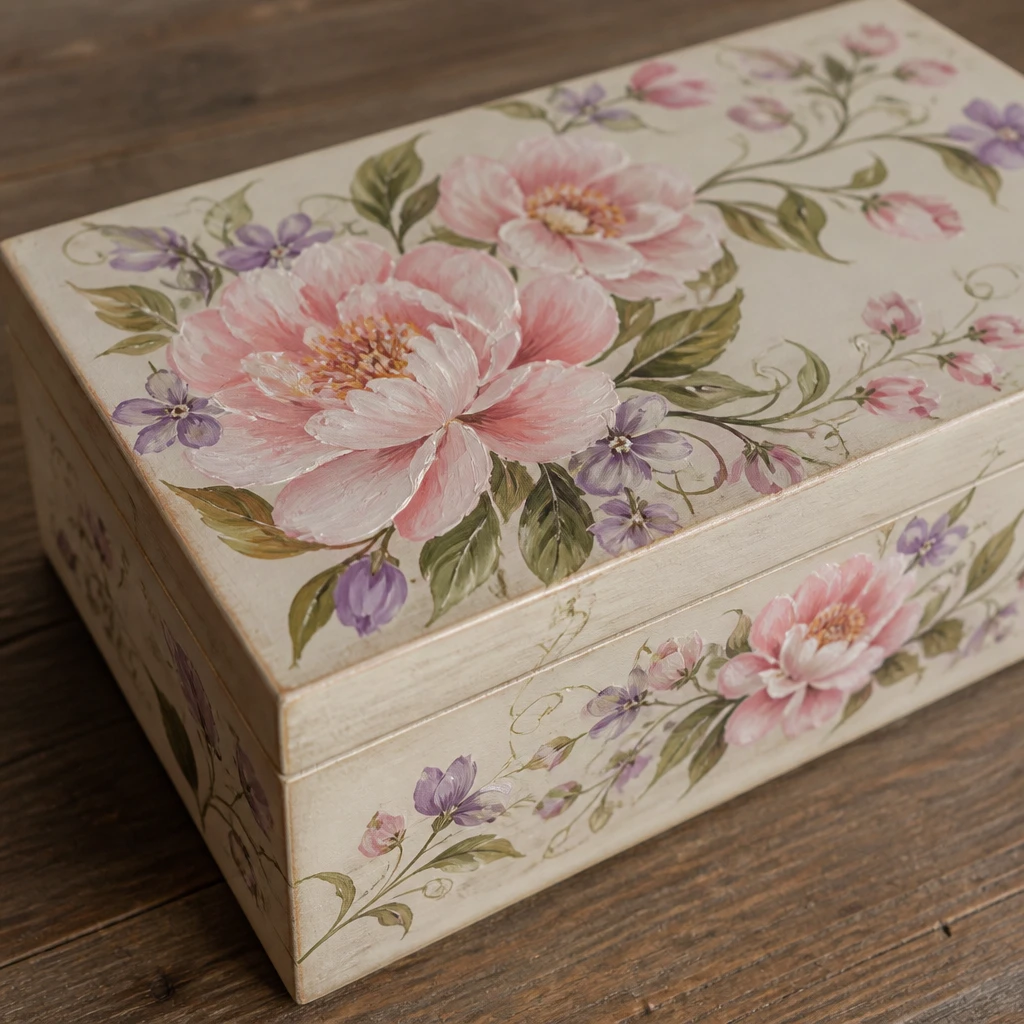
I always enjoy adding hand-painted flowers to memory boxes for a personal touch that feels fresh and delicate. Using fine brushes and layering colors allows me to create intricate petals and leaves with depth. Floral motifs make the box feel like a garden of memories, perfect for gifts or personal keepsakes.
Insight: I find that layering lighter colors first helps flower petals look more lifelike in paint.
4. Metallic Foil Accents
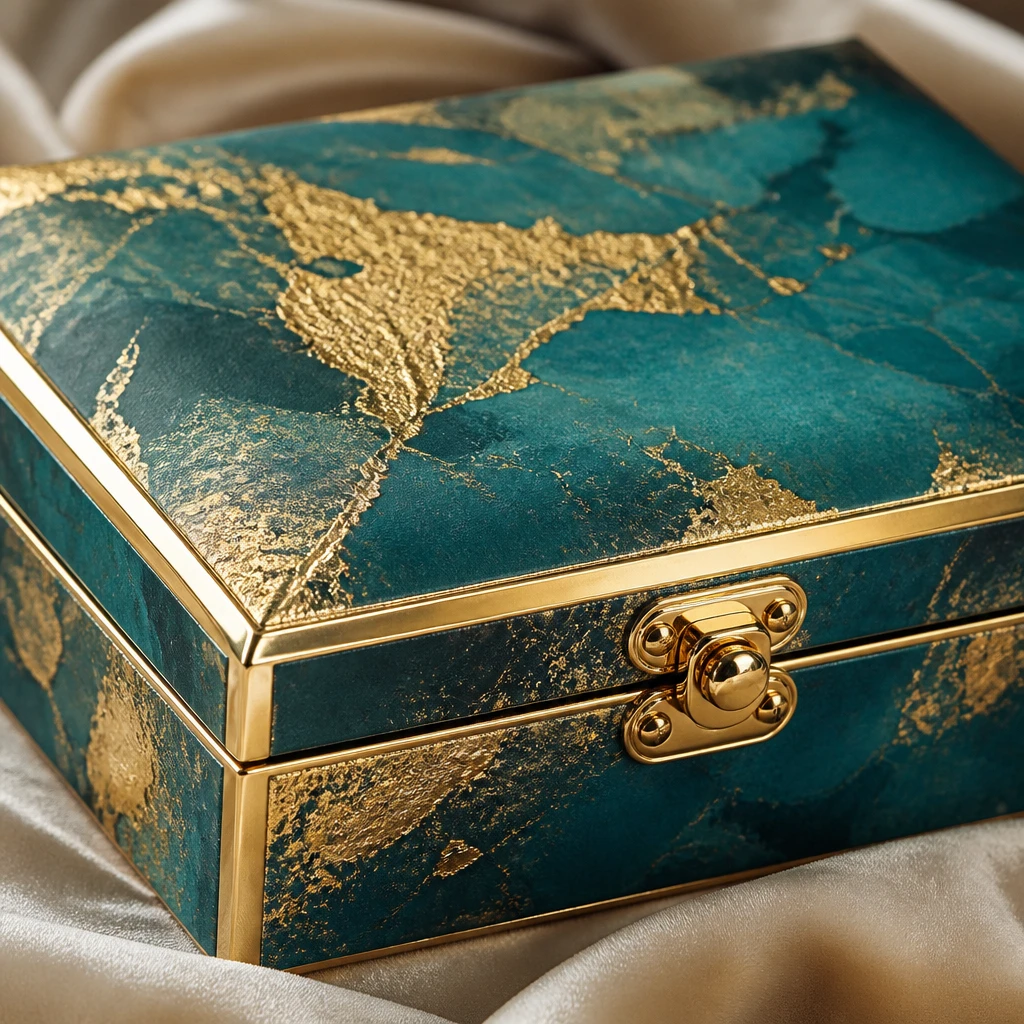
Incorporating metallic foil accents into my painted boxes adds a touch of glamour and shine that catches the eye. I apply adhesive in specific designs and then press gold or silver foil delicately for a professional finish. These accents make the box feel luxurious without overwhelming the main painted design.
Fact: Metallic foil enhances paintwork by reflecting light, making designs look dynamic and elegant.
5. Chalk Paint for Vintage Charm
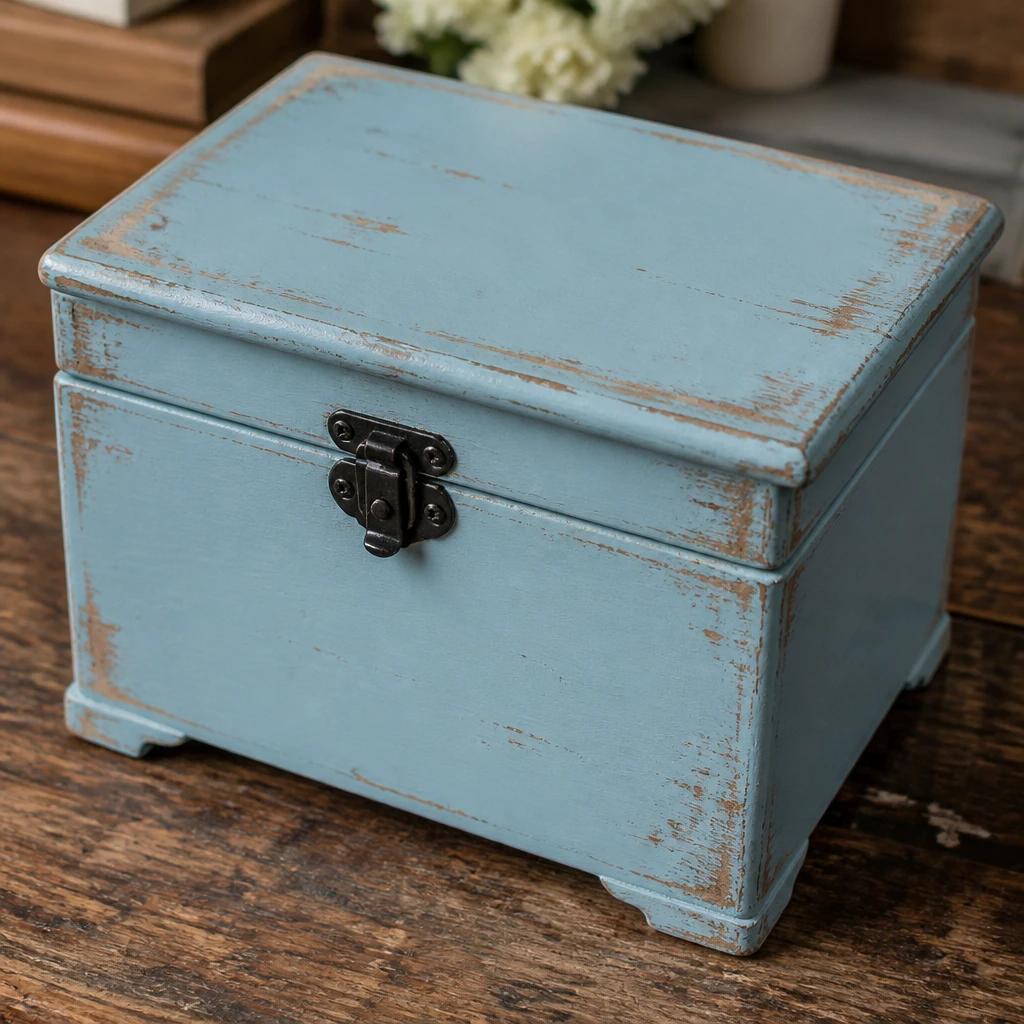
Chalk paint is my go-to for giving any memory box a vintage, matte finish that screams shabby chic. I appreciate how effortlessly the paint adheres to any surface without primer. Plus, a quick sanding after it dries creates that perfect worn look I adore in antique-style decor.
Pro Tip: Use fine sandpaper to gently distress chalk-painted surfaces for an authentic vintage look.
6. Ombre Gradient Painting
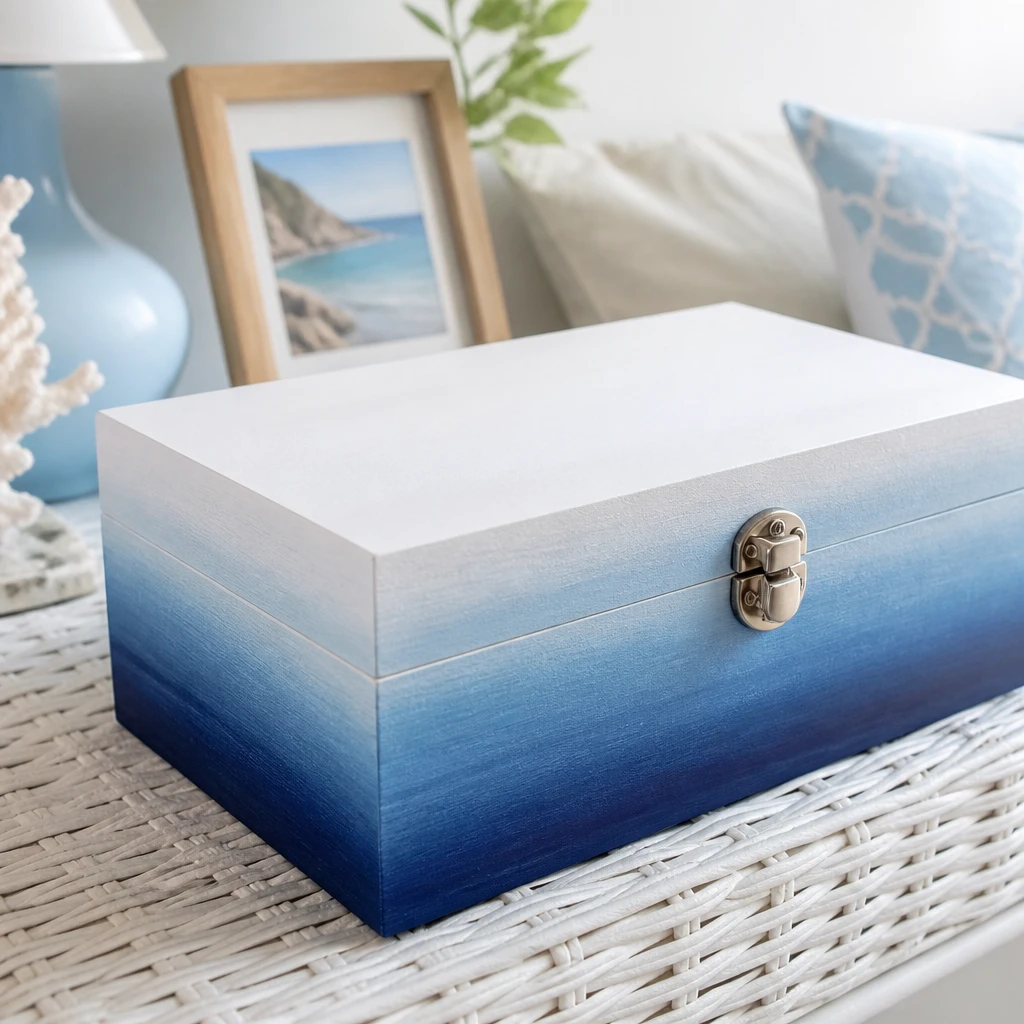
Creating an ombre effect on a memory box lets me play with color transitions that feel soft and soothing. I blend paints from dark to light with a sponge, which creates a seamless gradient that’s striking yet subtle. This technique is perfect when I want a box that evokes calm and beauty.
Insight: I find sponges work best to blend colors smoothly for an even ombre effect.
7. Personalized Name Stenciling
To make my memory boxes truly special, I add names or meaningful words using stencils and paint. This method ensures letters are clean and professional-looking, even if you’re new to lettering. I recommend picking bold fonts so the name stands out clearly as the centerpiece of the design.
Pro Tip: Secure stencils firmly and dab paint with a sponge for crisp, even lettering.
8. Decoupage and Painted Combo
Combining decoupage paper designs with painted backgrounds gives my memory boxes a layered look with texture and color. I always paint a solid or gradient base before adhering decorative paper, then seal everything with varnish. This combo lets me customize boxes with photos, maps, or patterned paper unique to each project.
Insight: I always seal decoupage with multiple varnish coats to protect delicate paper and paint.
9. Stencil Mandala Patterns
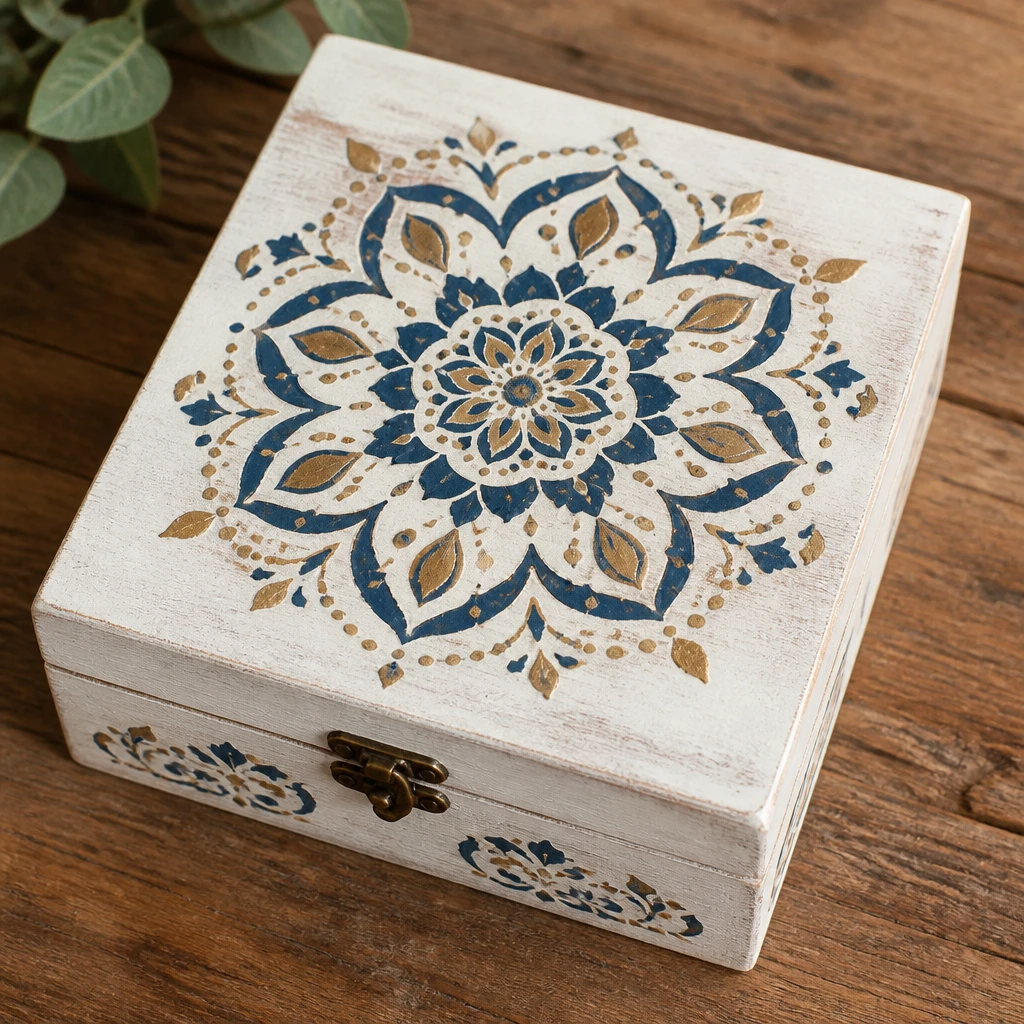
Painting intricate mandala patterns with stencils is a meditative process I enjoy for memory boxes. I use fine brushes to add details and carefully layer symmetrically for balance. Mandalas convey harmony and peace, making the box a soothing keepsake container.
Pro Tip: Apply paint lightly in layers on mandala stencils to build crisp, detailed symmetry.
10. Bold Brushstroke Abstract Art
I experiment with abstract brushstrokes on memory boxes to create modern, expressive designs. Thick paint applied with varying brush sizes adds texture and spontaneity. This freeform approach reflects emotion and creativity, perfect when I want each box to feel unique and alive.
Insight: I find using both wide and thin brushes adds depth and movement to abstract painted designs.
11. Pastel Stripe Patterns
Soft pastel stripes are one of my favorite ways to keep a memory box bright yet understated. I carefully measure and tape stripes to ensure even widths. The gentle colors feel timeless, making these boxes versatile as gifts or home decor.
Pro Tip: Use a ruler and painter’s tape for perfectly even pastel stripes on your memory box.
12. Inspirational Quote Painting
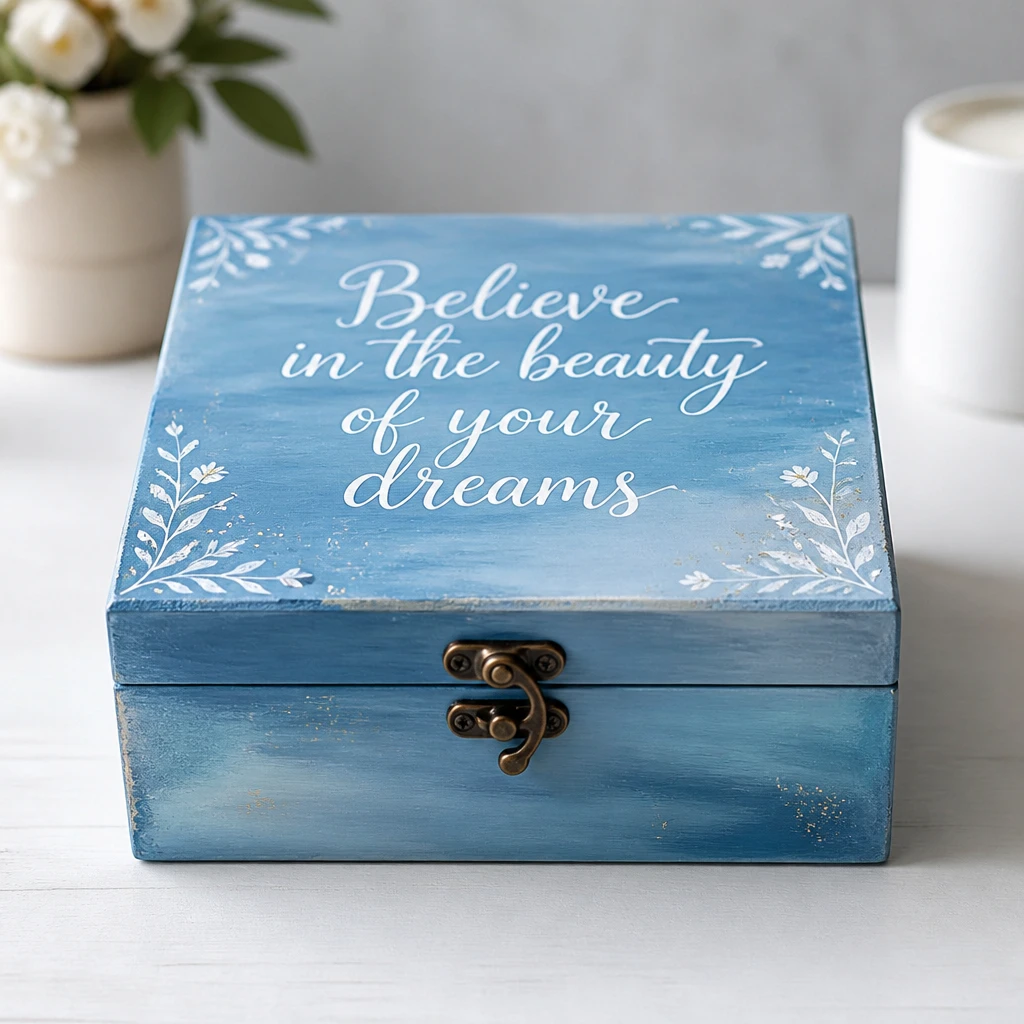
Painting inspiring quotes on my memory boxes adds a motivational element I appreciate every time I see it. I draft the text with pencil first, then paint over using fine brushes for neat script or block lettering. These quotes make memory boxes meaningful gifts or uplifting personal treasures.
Insight: I always practice lettering on paper before painting directly to avoid mistakes.
13. Marbled Paint Technique
The marbled paint technique creates swirling, fluid patterns that I love for giving memory boxes an artistic vibe. I mix multiple paint colors on a palette, then drip and tilt the box to blend them naturally. Each result is unique and mesmerizing, perfect for one-of-a-kind keepsakes.
Fact: Marbling each memory box gives you a completely unique pattern that can never be replicated.
14. Glitter Paint Finish
Adding glitter paint or mixing fine glitter into my paint formulas adds eye-catching sparkle to memory boxes. I use a clear gloss coat mixed with glitter for subtle shine or layered glitter paint for bold shimmer. This technique lets me celebrate special occasions with a fun, glamorous look.
Pro Tip: Layer glitter paint over a solid base color and finish with clear sealant for sparkle that lasts.
15. Grayscale Monochrome Palette
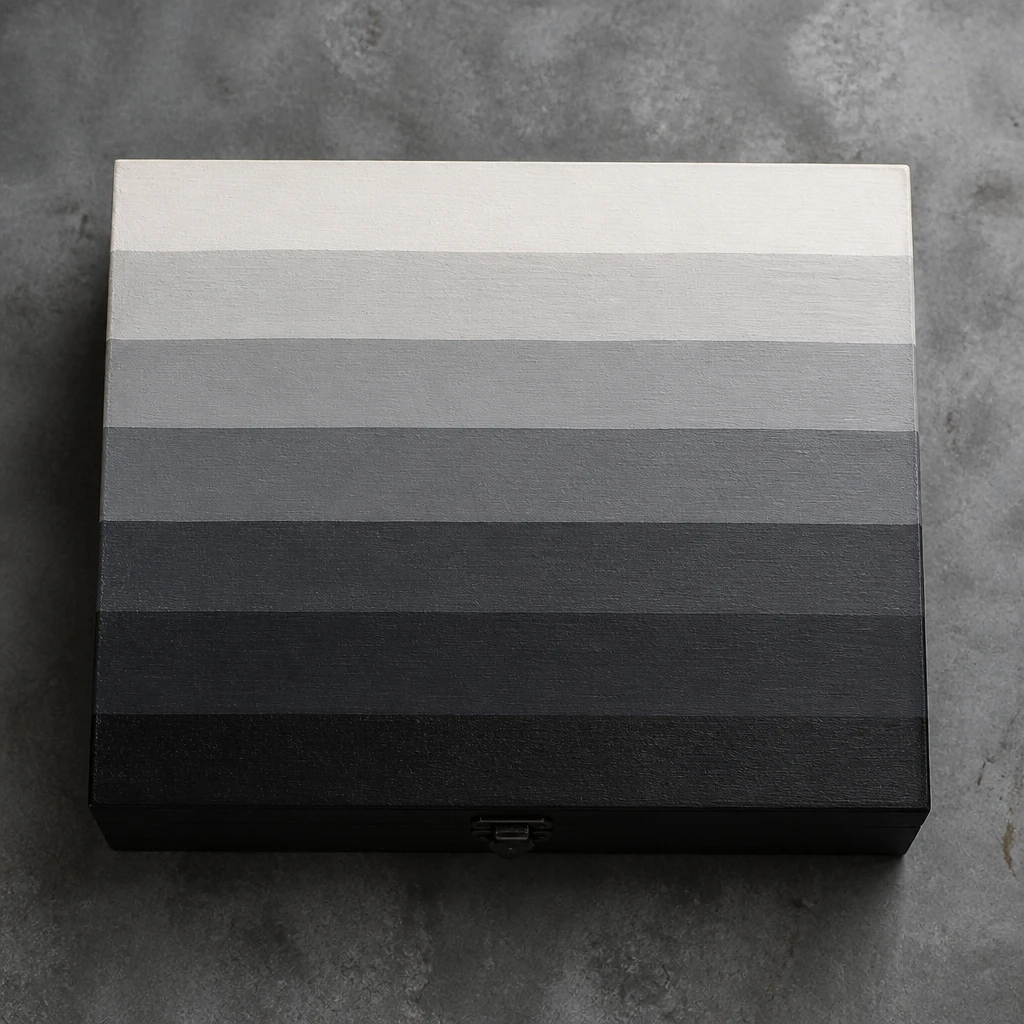
I enjoy the sophisticated appeal of sticking to grayscale monochrome shades when painting memory boxes. Using variations of white, gray, and black creates depth without overwhelming color complexity. This minimalist palette works well in modern or classic interiors, allowing the box to blend seamlessly.
Insight: I find monochrome palettes emphasize texture and pattern over color, making design details pop.
16. Nature-Inspired Leaf Prints
Creating leaf prints with real leaves and paint is an organic way I decorate memory boxes. I brush paint onto leaves and press them firmly to transfer detailed textures and shapes. These prints bring a natural, earthy vibe that feels calming and personal.
Pro Tip: Use smooth, gentle pressure when pressing leaves onto the box to capture detailed veins and edges.
17. Galaxy-Themed Paint Design
The galaxy theme is one of my favorite out-of-the-box ideas for memory boxes, combining dark backgrounds with starry paint splatters. I use a sponge to dab blues and purples then flick white paint to create stars. This cosmic artwork gives the box a captivating, dreamy feel.
Fact: Galaxy painting techniques use layering and splattering to mimic stellar depth and texture.
18. Mandala Dot Art
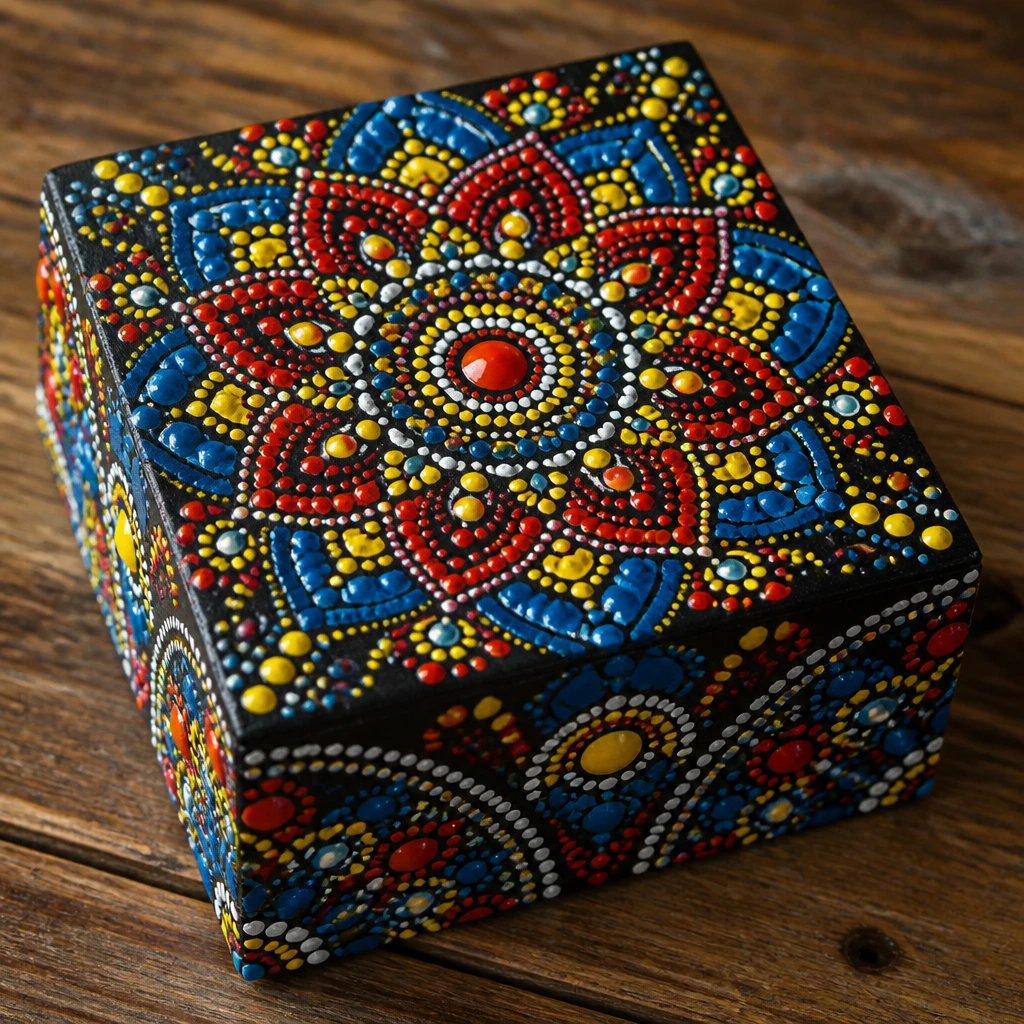
Dot mandala art involves meticulously painting small dots in circular patterns, which I find very soothing. I use dotting tools or toothpicks for precise placement, building up intricate symmetry on the memory box surfaces. It’s a time-intensive but immensely satisfying technique.
Pro Tip: Start from the center and work outward when creating mandala dot patterns for perfect symmetry.
19. Bold Animal Print Accents
Adding painted animal print accents like leopard spots or zebra stripes gives a wild edge to my memory boxes. I outline prints in black on a contrasting colored base for sharpness. These accents inject personality and fun into a practical decorative storage option.
Insight: I mix natural tones with black outlines to keep animal prints stylish rather than overwhelming.
20. Rustic Barn Wood Paint Effect
I recreate a barn wood look using layered paint and dry brushing techniques that give my memory boxes a charming rustic vibe. I start with a dark base and layer lighter grays and whites, then scrape or sand to reveal wear. This effect is perfect for farmhouse-style decor lovers.
Pro Tip: Use a dry brush with minimal paint and apply lightly to mimic rustic wood grain textures.
21. Bright Neon Accent Lines
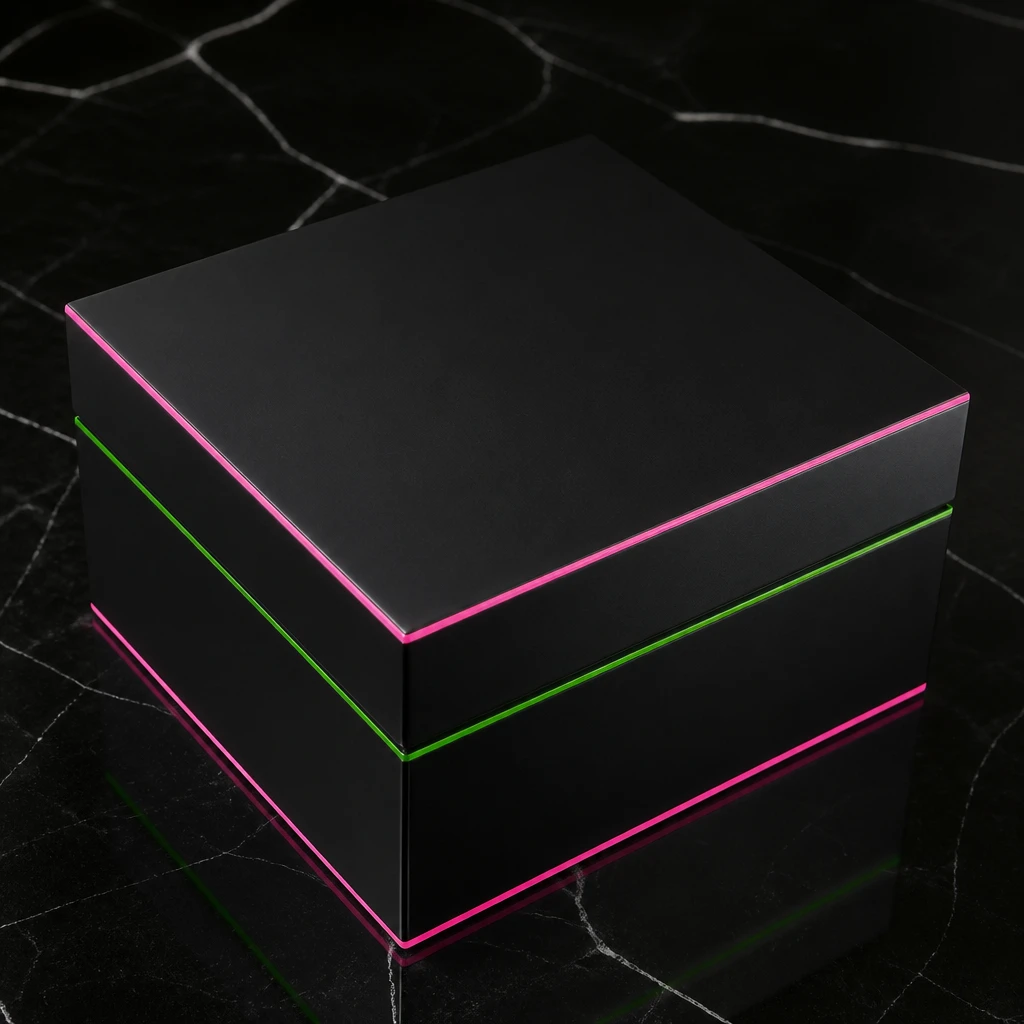
Adding thin neon accent lines to a painted memory box creates a vibrant pop of color that stands out dramatically. I use high-quality acrylic paints and a fine liner brush for precision. Neon colors energize the design and make the box feel contemporary and eye-catching.
Fact: Neon paints are most vibrant when layered over a dark matte base color.
22. Soft Watercolor Wash
I love using watered-down acrylics in soft washes to give the memory box a dreamy, ethereal look like watercolor paintings. I layer multiple translucent washes to build gentle color shifts. This approach is calming and delicate, perfect for storing meaningful mementos.
Insight: I find applying several thin watercolor washes builds depth without overpowering the box design.
23. Personalized Photo Transfer Paint
Using photo transfer mediums with paint allows me to embed personal images directly onto memory boxes. I prepare a painted surface, apply the image transfer medium carefully, and finish sealed with varnish. This method makes the box uniquely sentimental and visually striking.
Pro Tip: Apply photo transfer medium evenly to avoid bubbles and ensure clear image transfer.
24. Chevron Painted Patterns
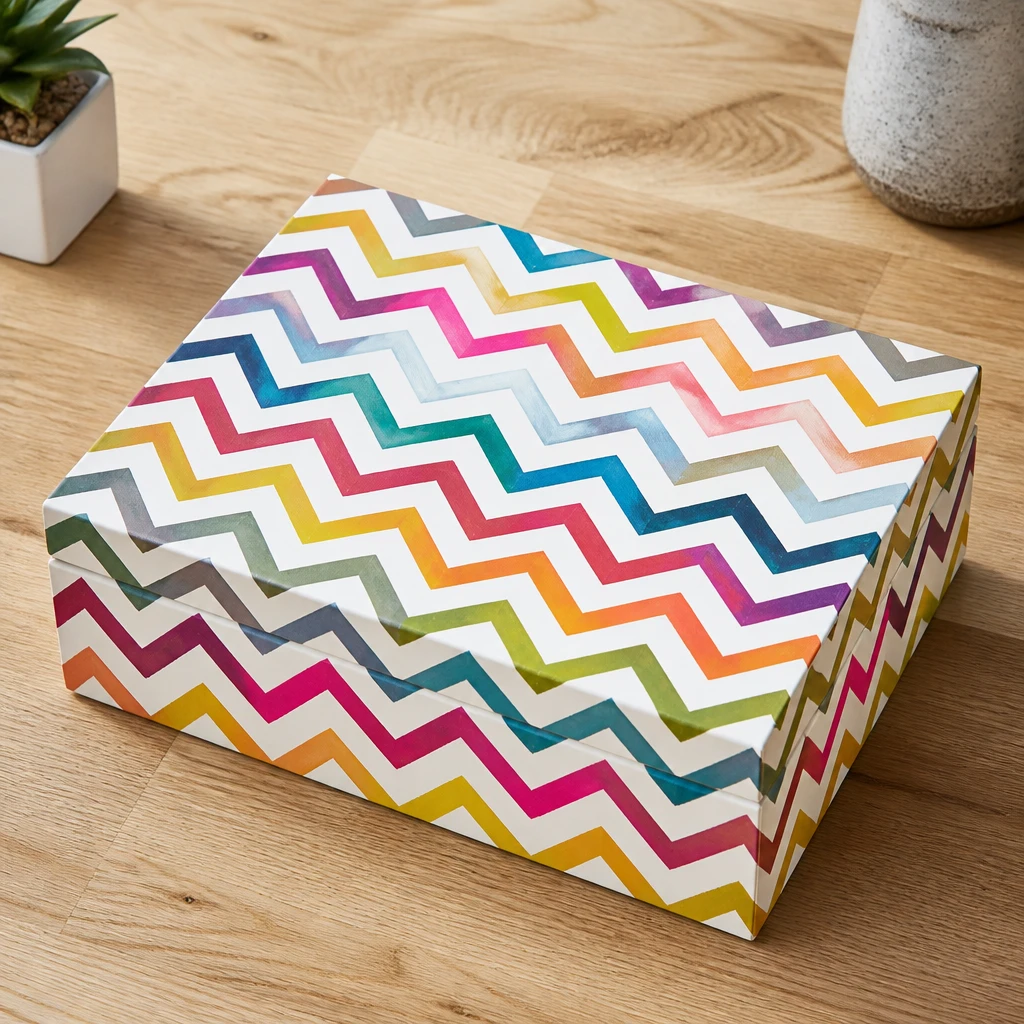
Chevron patterns paint a fun, dynamic look on memory boxes that I enjoy for versatility. I use precise painter’s tape arrangements to create sharp zigzag lines in contrasting or complementary colors. These patterns feel energetic but remain clean and stylish.
Pro Tip: Apply multiple thin coats of paint within taped areas to avoid bleeding under edges.
25. Tropical Leaf Silhouettes
Painting tropical leaf silhouettes in bold greens against bright backgrounds always energizes my memory boxes with a fresh vibe. I sketch leaf outlines and fill with saturated colors, sometimes adding veins for realism. This approach brings a lively touch that’s perfect for summer memories.
Insight: Layer darker greens on top of lighter greens to add dimension to tropical leaf paintings.
Conclusion
I’ve found that painting memory boxes is an enjoyable and rewarding way to create personalized keepsakes that truly reflect your style. These 25 DIY paint ideas for 2026 offer something for every level of painter and aesthetic preference. With a little practice and creativity, you can make memory boxes that preserve your special moments beautifully.