25 Canned Food Storage Ideas for 2026
I’ve learned that thoughtful canned food storage can make a huge difference in kitchen organization and meal prep ease. As 2026 approaches, I’ve gathered 25 of my favorite canned food storage ideas that combine function with style. These tips keep my pantry organized and my canned goods easy to find and use.
Key Takeaways
- Use clear labeling and rotating systems to keep canned goods fresh and accessible.
- Incorporate vertical and wall-mounted storage solutions to save counter and shelf space.
- Repurpose household items for creative and budget-friendly canned food storage.
- Consider humidity and temperature when choosing storage locations to prolong shelf life.
- Optimize pantry layouts with stackable, modular containers designed specifically for cans.
1. Clear Labeling for Easy Identification
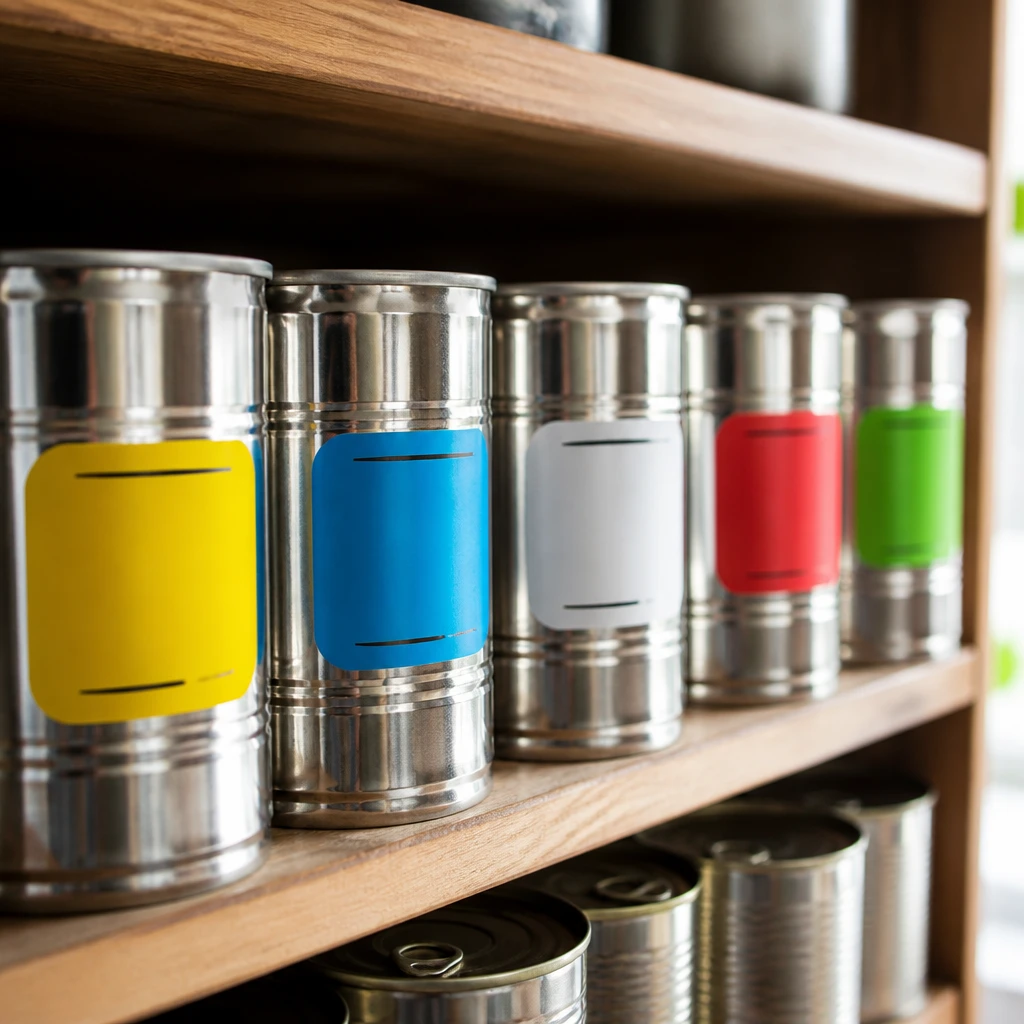
I always label my canned foods clearly using waterproof markers or printed labels so I can spot what I need quickly. This habit saves me time rummaging through shelves, especially during busy meal prep. Labels with expiration dates help me rotate stock and avoid wasted food.
Pro Tip: Label each can with its purchase date and use-by date for quick rotation.
2. Stackable Can Organizers
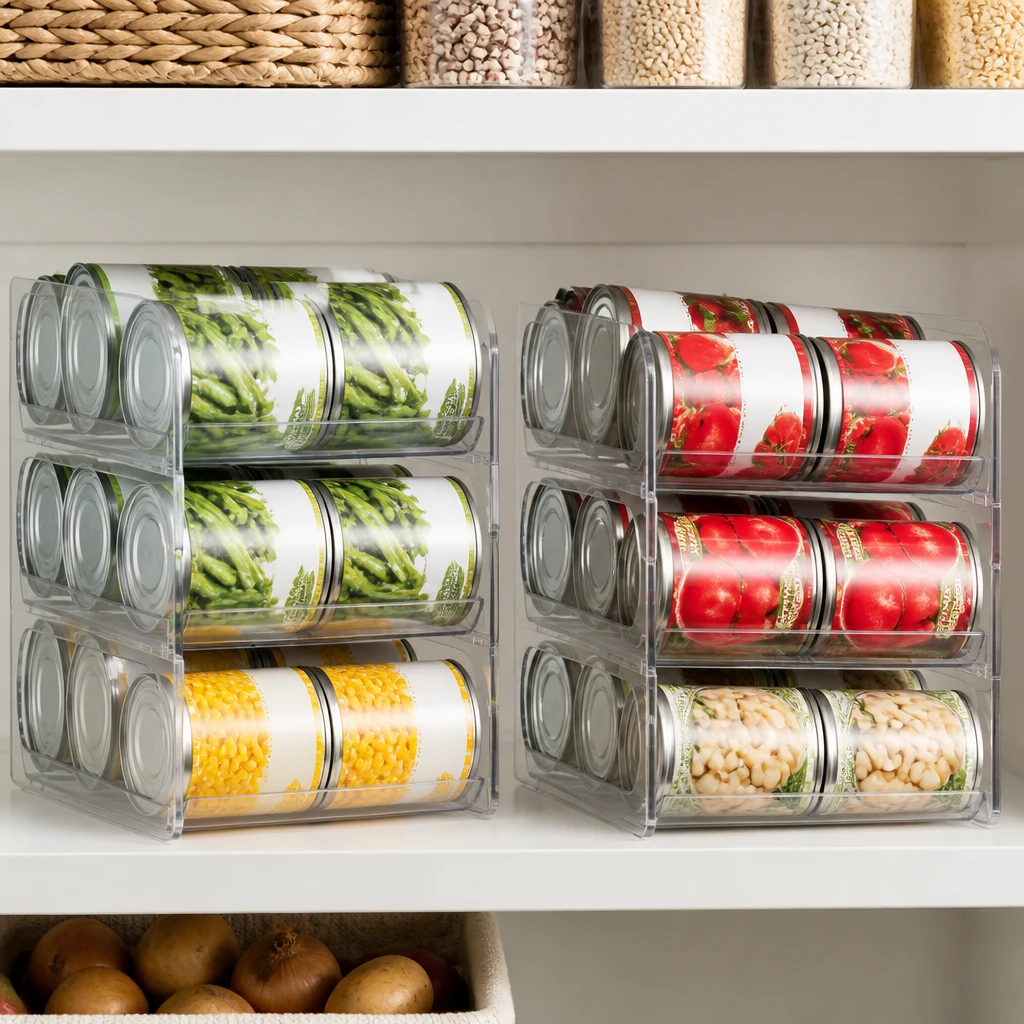
I rely on stackable can organizers that fit perfectly in my pantry shelves to keep cans secure and accessible. These organizers create vertical layers, making it easier to see and grab every can without disturbing others. The plastic or metal material helps prevent cans from rolling away.
Pro Tip: Use stackable organizers to maximize vertical pantry space while keeping cans stable.
3. Lazy Susan Turntables
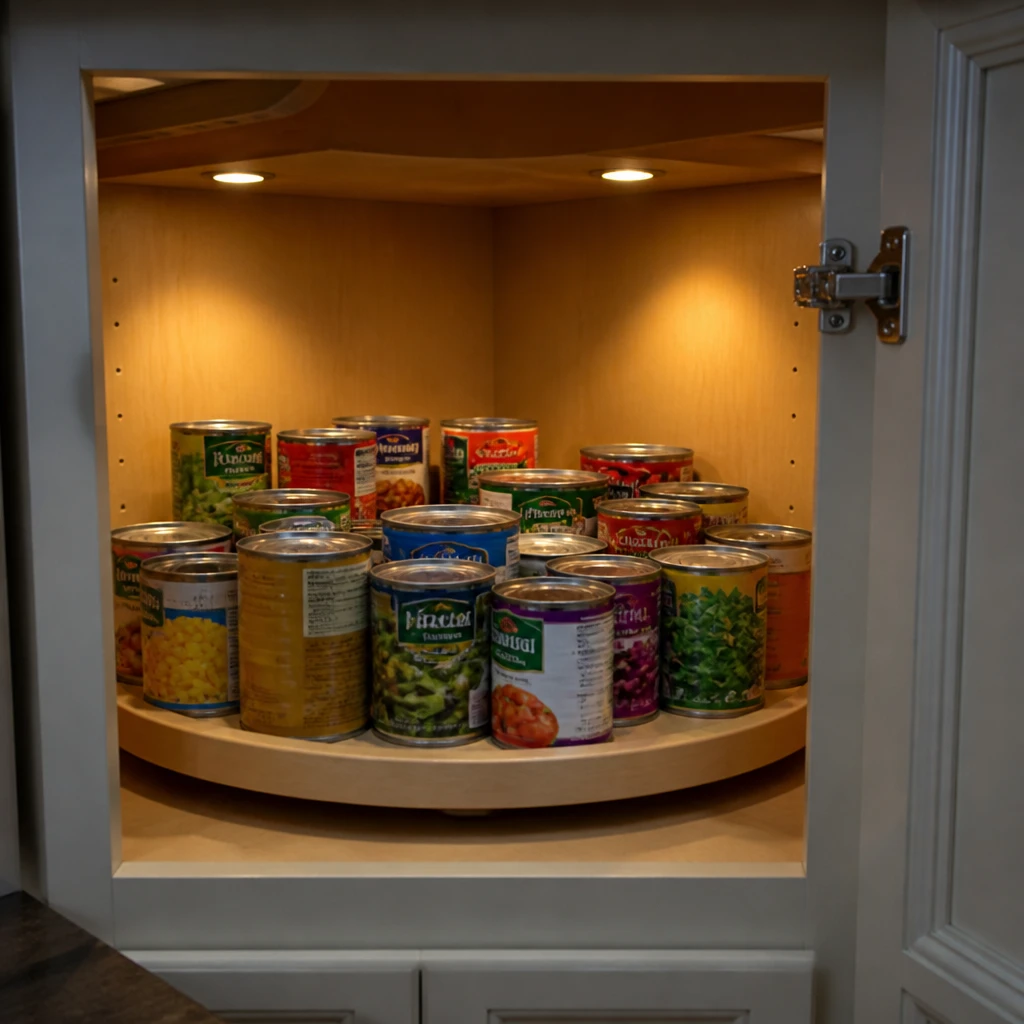
For small pantries or deep cabinets, I use Lazy Susan turntables to keep canned goods within easy reach. Spinning the turntable brings every can to the front with zero effort. This method also helps me keep an eye on expiration dates as I rotate the contents regularly.
Insight: I find Lazy Susans reduce clutter and wasted cans by improving visibility and access.
4. Magnetic Strips on Walls or Doors
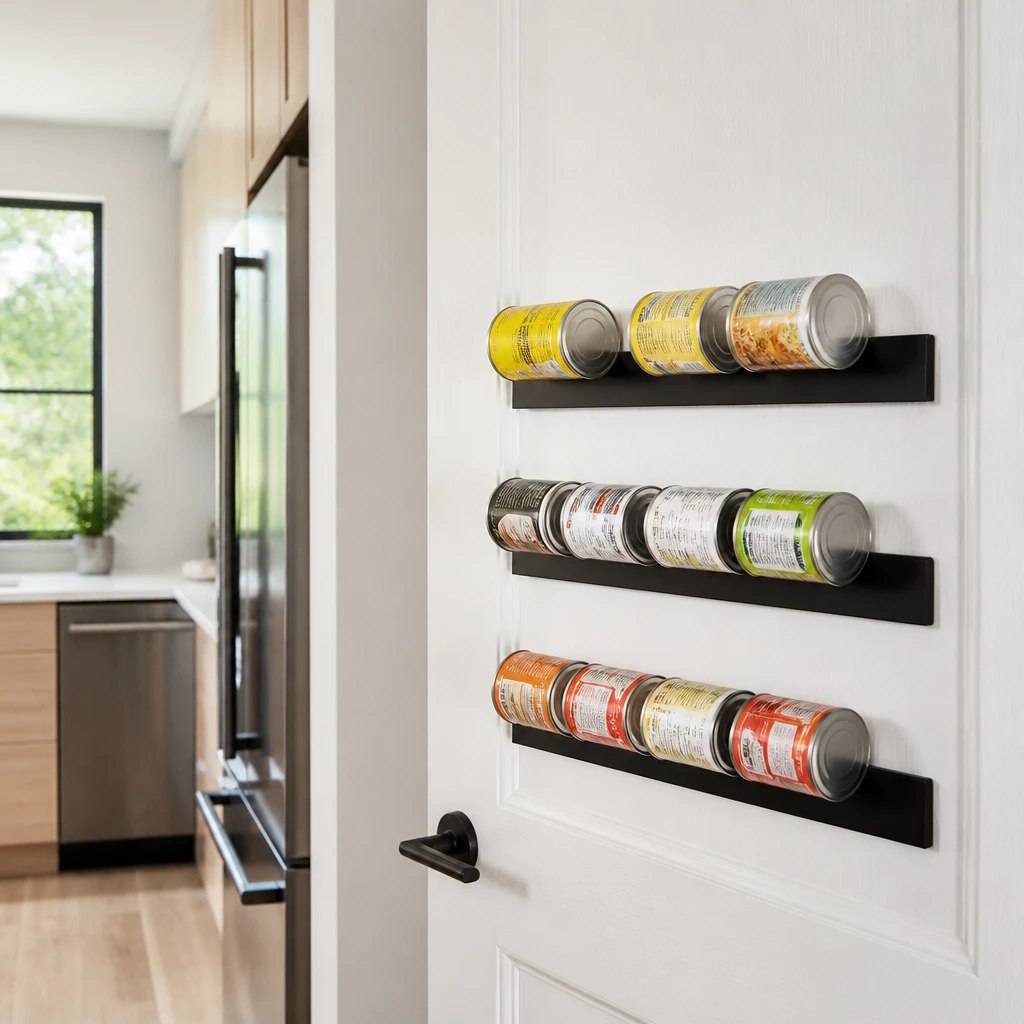
I installed magnetic strips on the pantry door to hold lightweight cans like tomato paste tubes or small jars. This frees up shelf space by using vertical door real estate and keeps my counters clear. It also creates a visually appealing setup that’s easy to update.
Pro Tip: Install magnetic strips on pantry doors to store small cans and jars off shelves.
5. Repurposed Shoe Organizers
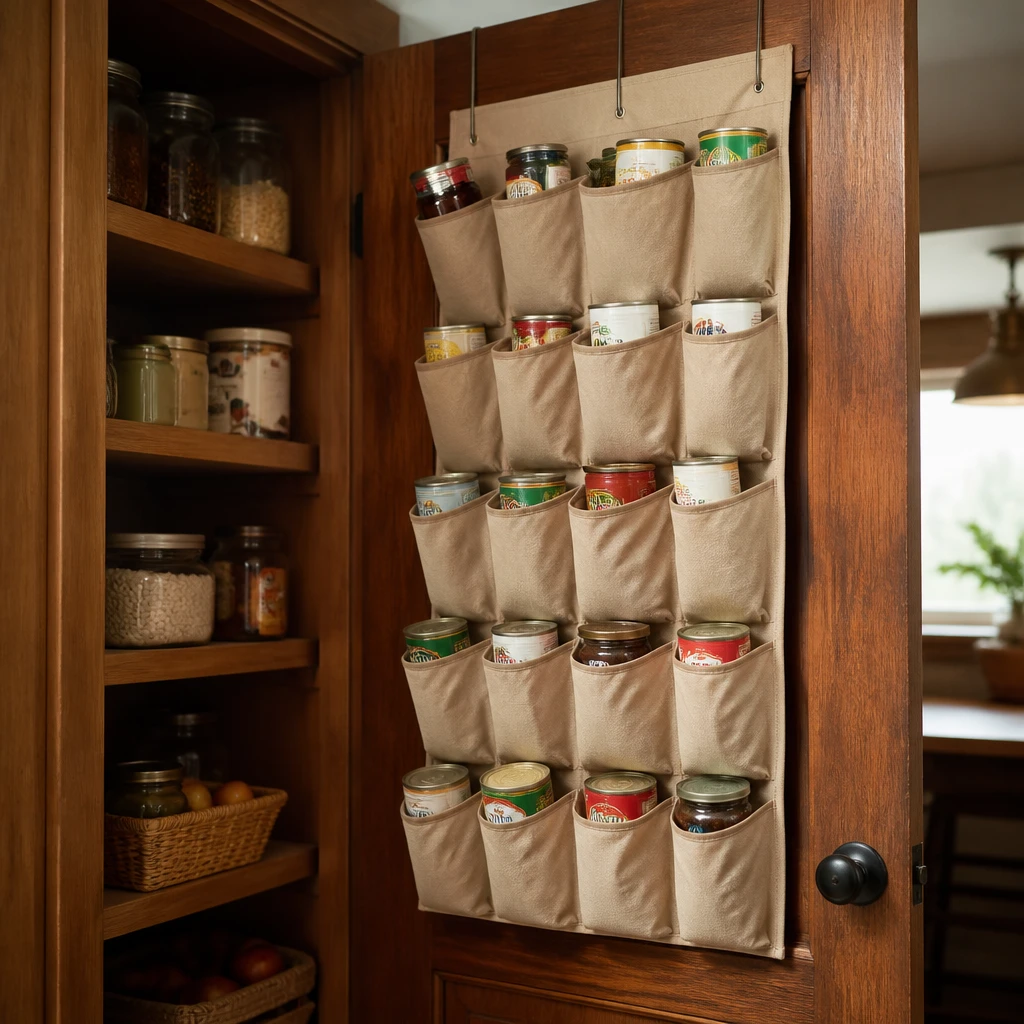
I repurposed a hanging shoe organizer for my canned food storage in the pantry. Each pocket comfortably holds a few cans, making it easy to categorize by type and save shelf space. This inexpensive solution also helps me visually sort my stock at a glance.
Pro Tip: Use a fabric shoe organizer for lightweight canned goods to maximize vertical space.
6. Wire Baskets for Open Shelving
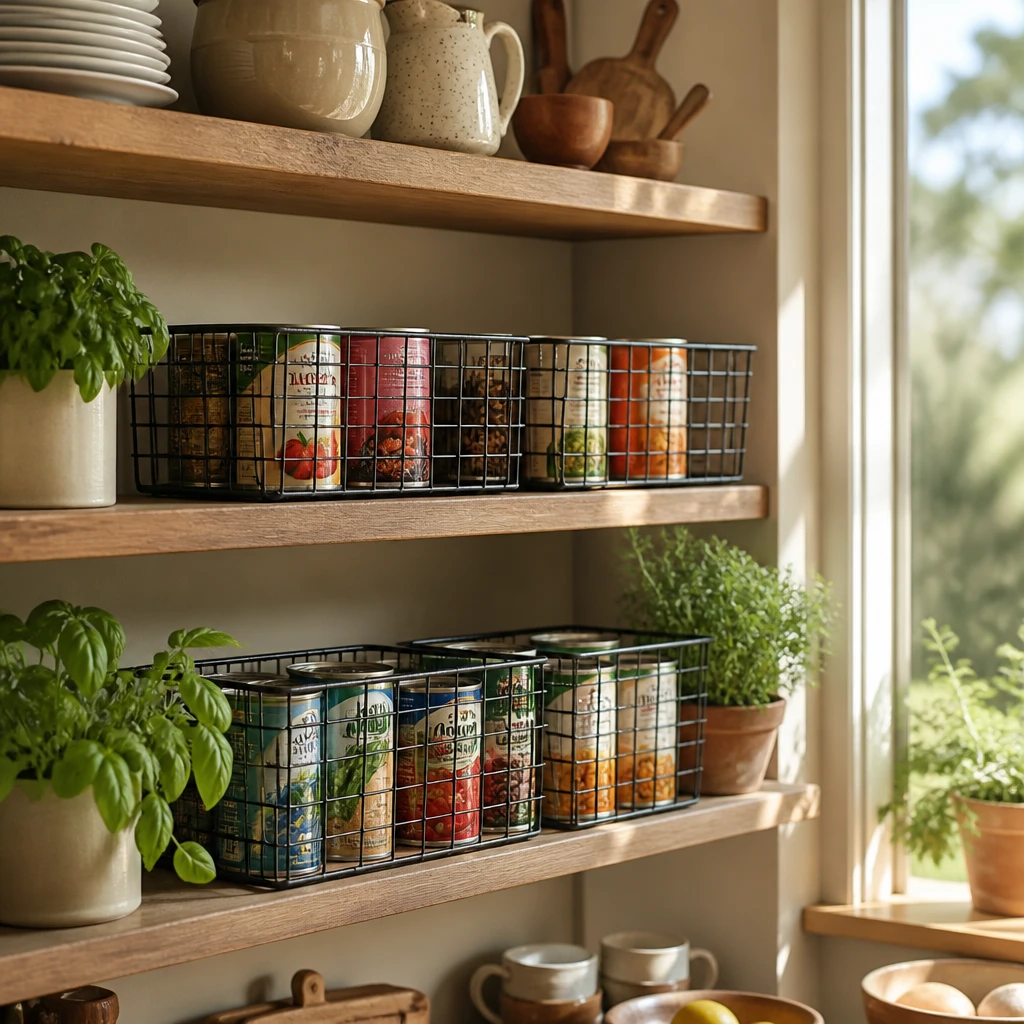
I group canned foods in wire baskets when I have open shelving in my kitchen. These baskets keep cans tidy yet visible, and I can pull them out when cooking. The open design allows airflow, which I think helps keep cans dry and in good condition.
Insight: Wire baskets add rustic charm while offering practical canned food organization on open shelves.
7. Clear Plastic Storage Bins
I prefer clear plastic bins to compartmentalize canned foods by type—like vegetables, soups, or beans. Seeing everything at a glance helps me plan meals and minimizes time searching. These bins also make it easier to pull out a group of cans when restocking or cleaning.
Pro Tip: Group canned foods by category in clear bins for quick selection and easy inventory checks.
8. Use a Pegboard Display
I installed a pegboard on a kitchen wall to hang small wire baskets or shelves for canned goods. This turns canned food into wall decor and keeps them accessible without cluttering counters. Plus, I can rearrange hooks and baskets anytime to suit my stock.
Pro Tip: Customize a pegboard for adaptable vertical storage of canned foods near your prep area.
9. Rotating Can Racks
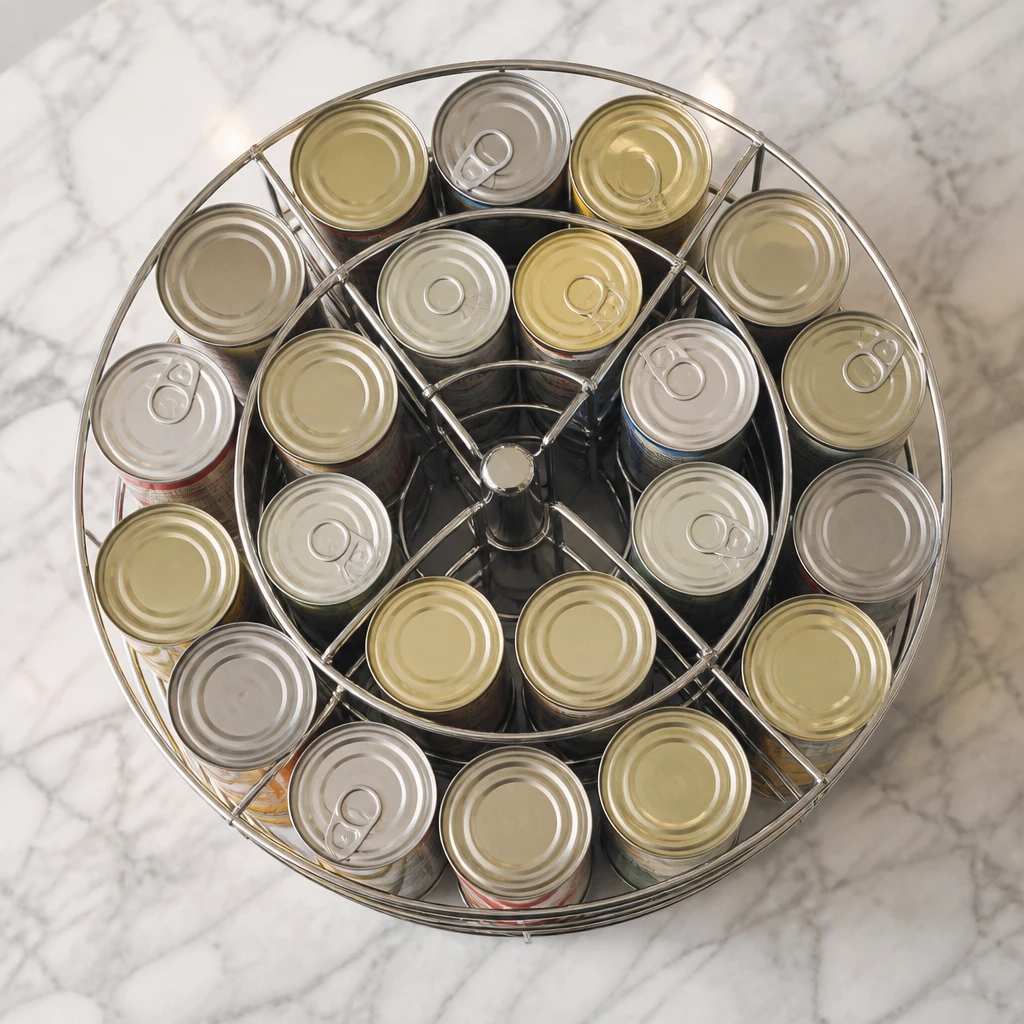
Investing in a rotating can rack was one of my best pantry decisions. These racks spin easily, so I can grab any can without moving others. It also encourages me to first use the cans I stocked longest to reduce waste.
Fact: Rotating can racks improve visibility and help maintain first-in, first-out rotation.
10. Under-Shelf Slide-Out Drawers
I added slide-out drawers beneath my pantry shelves to store extra canned items. These drawers make the most of unused lower shelf areas and reduce bending to reach items in back. Pulling out a whole drawer gives me full access to cans all at once.
Pro Tip: Install slide-out drawers under shelves to optimize hidden storage space for canned goods.
11. Label Cans by Expiry with Color Coding
I developed a color coding system using dot stickers to quickly identify which cans expire soon. Red means near expiration, yellow means moderate, and green means plenty of time. This visual technique speeds up rotation and reduces spoiled cans in my pantry.
Pro Tip: Use colored stickers on cans to quickly recognize expiration timelines at a glance.
12. Store Cans in a Cool, Dry Place
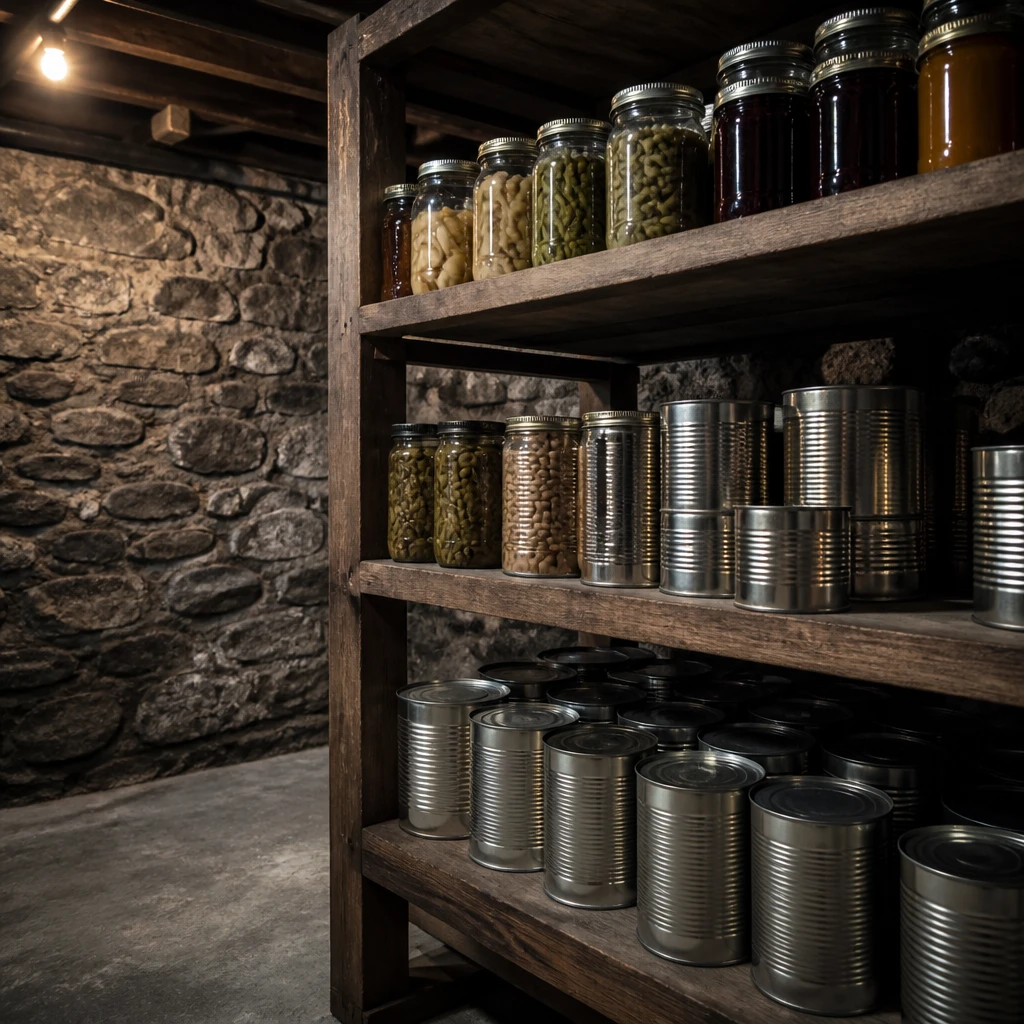
I always choose the coolest, driest area of my kitchen or basement for canned food storage. Heat and moisture can degrade cans and shorten shelf life, so this step is crucial. Keeping cans away from sunlight also prevents label fading and food quality loss.
Fact: Optimal canned food storage conditions are cool temperatures and low humidity.
13. Use Tiered Shelf Risers
I installed tiered risers on my shelves so I can see cans stacked behind one another. This simple trick increases visibility and accessibility, reducing the chance of cans getting forgotten. It’s especially handy for smaller cans or condiment tins.
Pro Tip: Add tiered risers to display cans in multiple rows clearly and efficiently.
14. Repurpose Magazine Holders
I repurpose magazine holders sideways to organize canned goods in my cabinets. They keep cans from rolling and help me group by category. Not only is this cost-effective, but it also makes restocking and cleanup quicker.
Pro Tip: Repurpose magazine holders sideways as simple, affordable canned can organizers.
15. Use Can Dispensers for FIFO
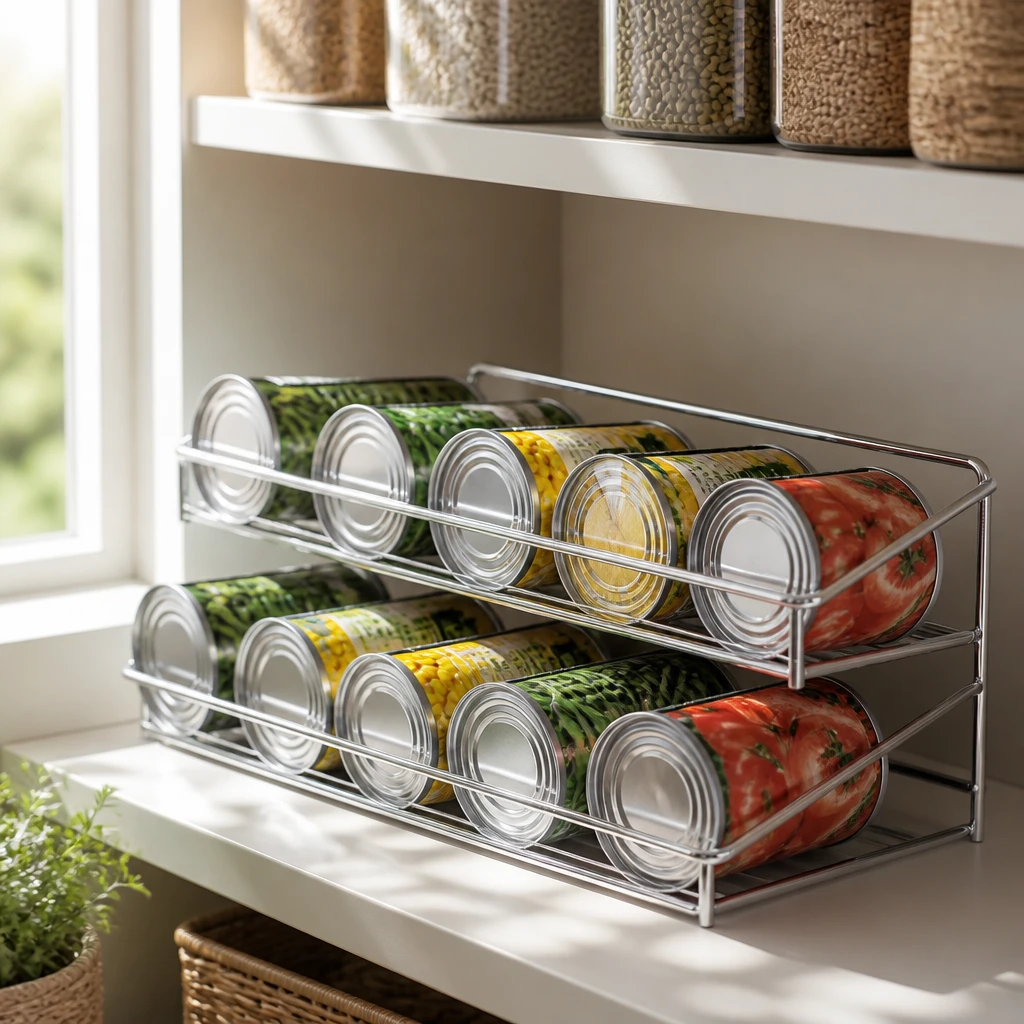
Can dispensers make it easy for me to practice FIFO—first in, first out. I load cans at the back and grab them from the front, so older cans get used first. This method reduces waste and keeps my pantry rotation smooth.
Insight: I rely on can dispensers to efficiently manage and rotate my canned food stock.
16. Create a Dedicated Canned Food Pantry Zone
I carved out a specific section of my pantry exclusively for canned foods. Keeping cans together minimizes clutter and simplifies meal planning. It also helps visually maintain stock levels so I know when to shop.
Insight: Creating a dedicated canned food zone optimizes organization and kitchen workflow.
17. Use Drawer Dividers for Stacking
I use adjustable drawer dividers to stabilize stacked cans inside deep drawers. This prevents tipping and damage to labels, while making retrieval easier. Dividers let me customize space based on can sizes and pantry needs.
Pro Tip: Add drawer dividers to keep stacked canned foods secure and orderly.
18. Mount Wall Shelves for Extra Storage
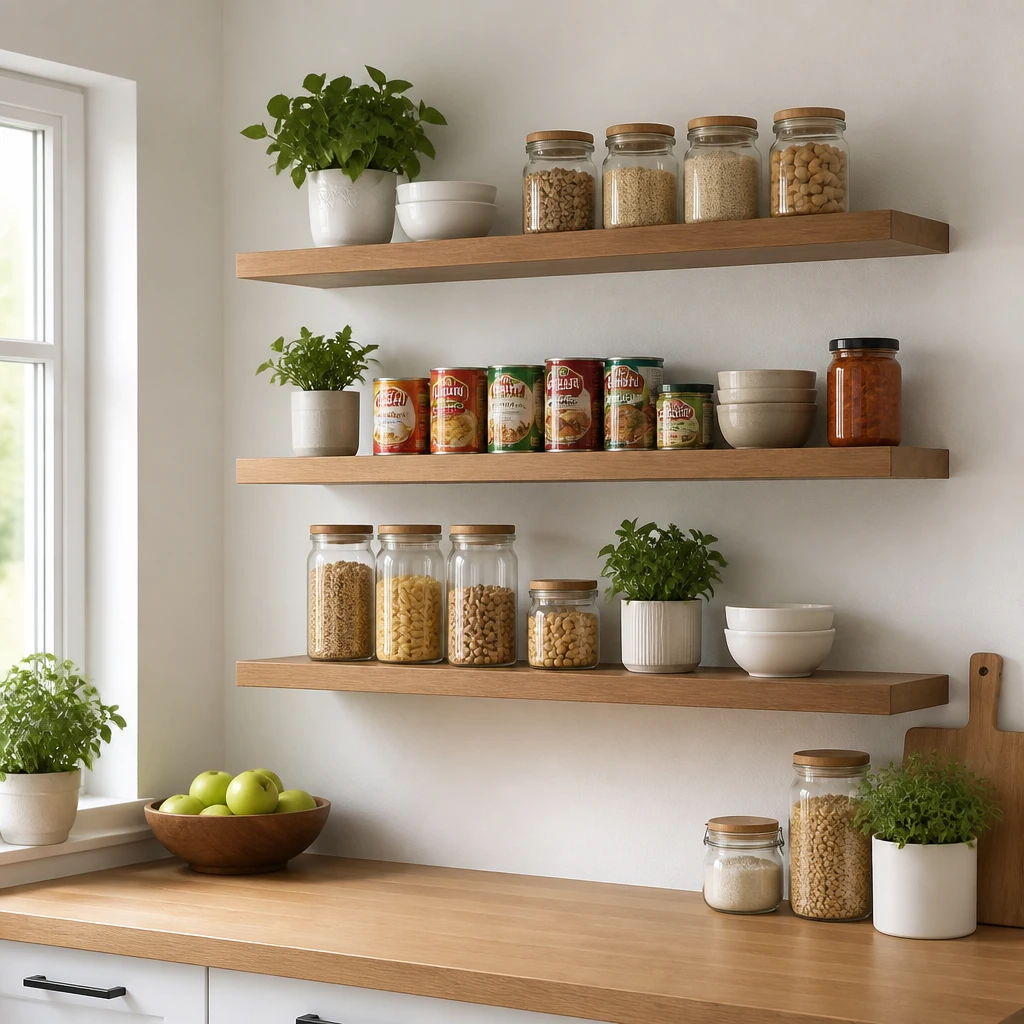
I installed floating wooden wall shelves in my kitchen to hold canned goods off counters and out of crowded cabinets. These shelves became extra storage that’s both decorative and functional. I chose contrasting wood tones for a stylish, rustic vibe.
Insight: Wall-mounted shelves expand storage while adding rustic charm to my kitchen.
19. Store Bulk Canned Foods in Plastic Totes
When I buy canned foods in bulk, I store excess cans in labeled plastic totes in my basement pantry. This protects them from dust and allows me to easily transport cans in and out when needed. I also label each tote with content and purchase date.
Pro Tip: Use labeled plastic totes for bulk canned goods to keep them clean and transportable.
20. Use Clear Roll-Out Bins
Clear roll-out bins glide out smoothly from pantry shelves, which makes grabbing canned goods so much easier. I use these bins to separate my canned food categories and keep smaller cans tidy. Plus, they reduce the need to reach over or knock things over.
Pro Tip: Incorporate clear roll-out bins to simplify access and separate canned food groups.
21. Store Cans by Meal Type
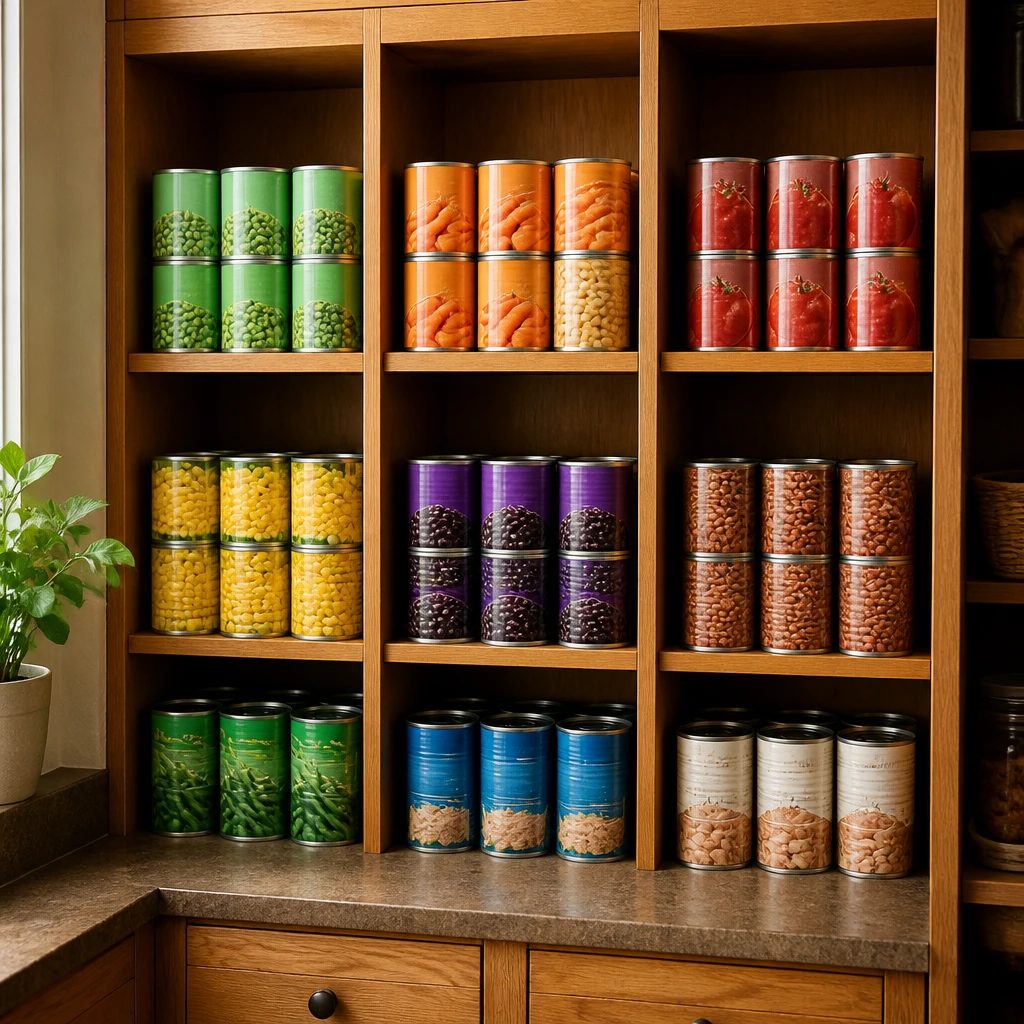
Organizing cans by meal category—like soups, vegetables, or sauces—has improved my cooking flow tremendously. I created separate sections in my pantry so I can grab everything I need for a recipe without searching multiple places. This categorization saves time during busy weeknights.
Insight: I find sorting canned foods by meal type streamlines meal prep and planning.
22. Label Pantry Shelves with Categories
I labeled my pantry shelves to match can groupings using rustic chalkboard stickers. These labels remind me where everything belongs and encourage my family to put items back correctly. The consistent order minimizes clutter and keeps things running smoothly.
Pro Tip: Use shelf labels to maintain order and guide family members in canned food organization.
23. Store Expired or Damaged Cans Separately
Whenever I spot cans that are damaged or close to expiration, I separate them from fresh stock in a dedicated bin. This prevents accidental use of compromised items and helps me plan what to consume quickly. It’s an important practice I recommend for safety.
Fact: Separating damaged or expired cans ensures food safety and prevents waste.
24. Use Vertical Can Dispensers for Space Saving
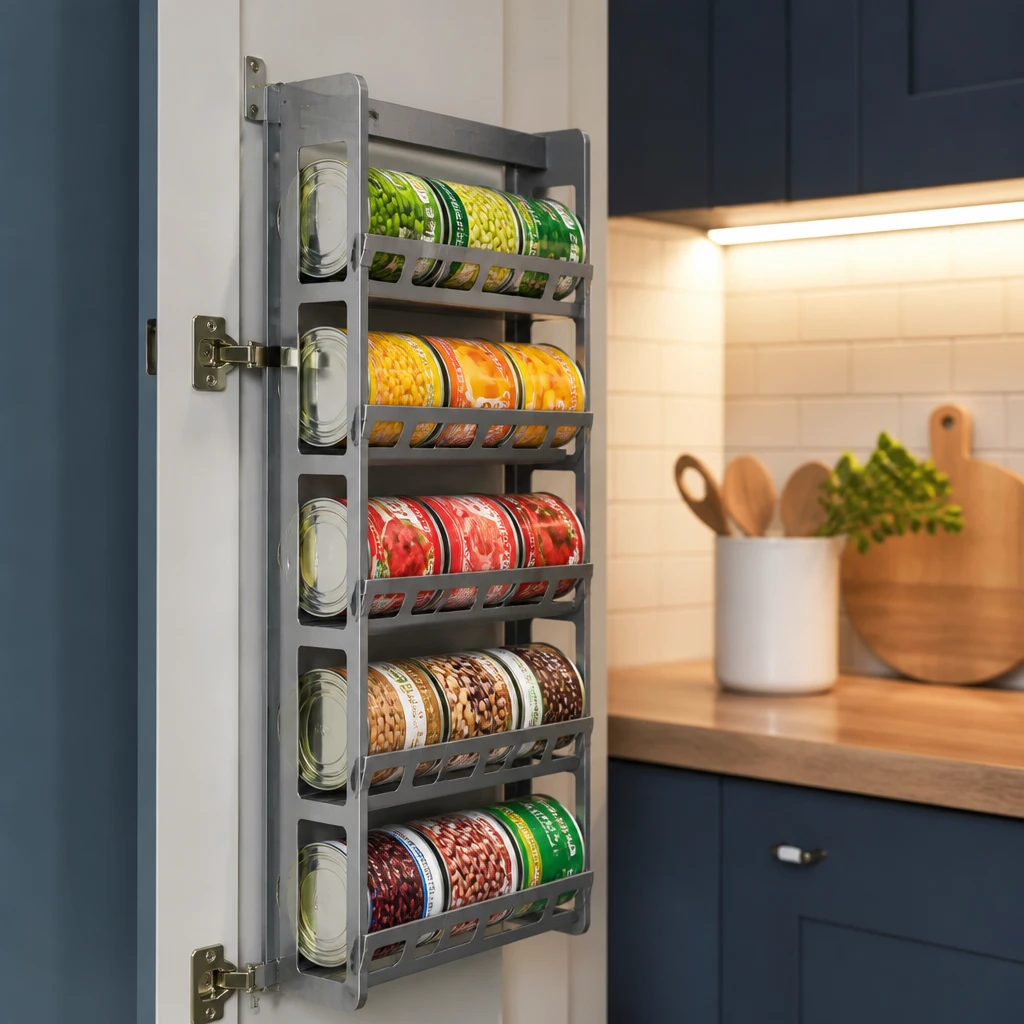
Vertical can dispensers save horizontal space by stacking cans in a column and dispensing from the bottom. I installed one inside a cabinet door and found it freed up significant shelf area. Plus, it’s fun and efficient to watch cans slide out smoothly as I use them.
Pro Tip: Install vertical can dispensers for compact, gravity-fed canned food storage.
25. Keep Backup Stock in a Separate Location
I maintain a backup canned food supply in a cool, dark closet away from my main pantry. This helps me through emergencies and keeps my kitchen less crowded. Rotating stock between locations every few months keeps everything fresh and usable.
Insight: Storing backups separately ensures preparedness and reduces daily clutter.
FAQs ( Frequently Asked Questions )
Conclusion
In my experience, organizing canned foods well makes cooking easier and reduces waste. I encourage you to try a few of these ideas to find what works best for your space. With a little planning, maintaining a neat canned food supply is simple and rewarding.