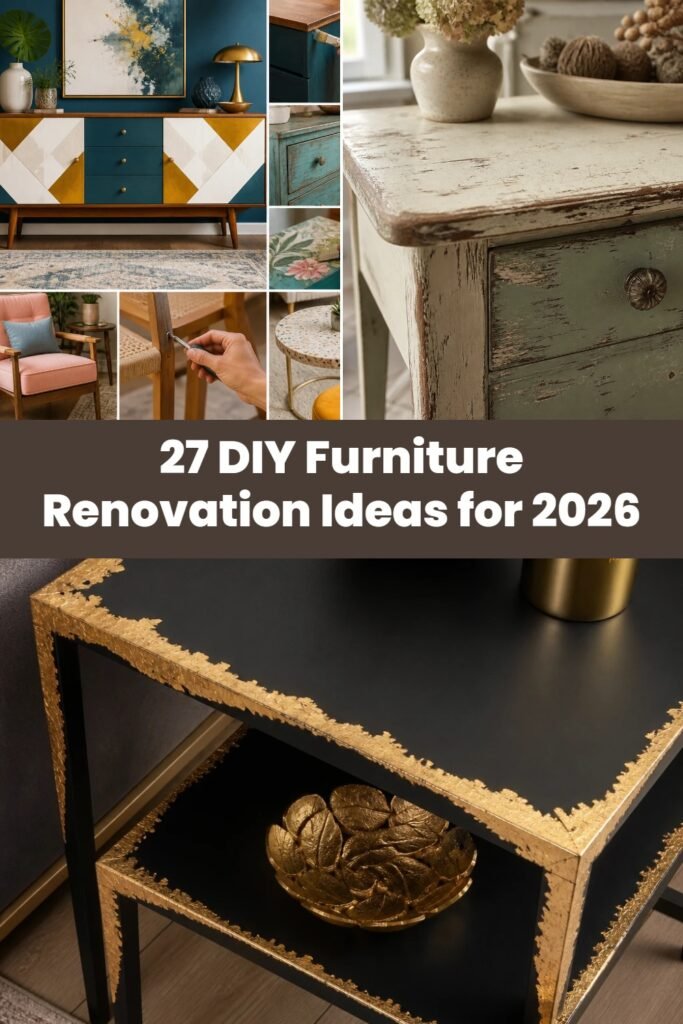
27 DIY Furniture Renovation Ideas for 2026
I’ve always loved transforming old furniture into eye-catching, functional pieces that add personality to my home. Over the years, I’ve tested countless renovation techniques to keep my projects fresh and trendy for 2026. These 27 DIY furniture renovation ideas are practical, stylish, and achievable even if you’re a beginner.
Key Takeaways
- Update old furniture with simple sanding and a fresh coat of paint for an instant refresh.
- Incorporate mixed materials like wood and metal for a modern look.
- Use eco-friendly and low-VOC products to keep renovations safe and sustainable.
- Add character by incorporating texture with distressing, stenciling, or upholstery.
- I recommend practical steps like thorough cleaning and choosing the right tools for successful projects.
1. Refreshing Vintage Wood with Milk Paint
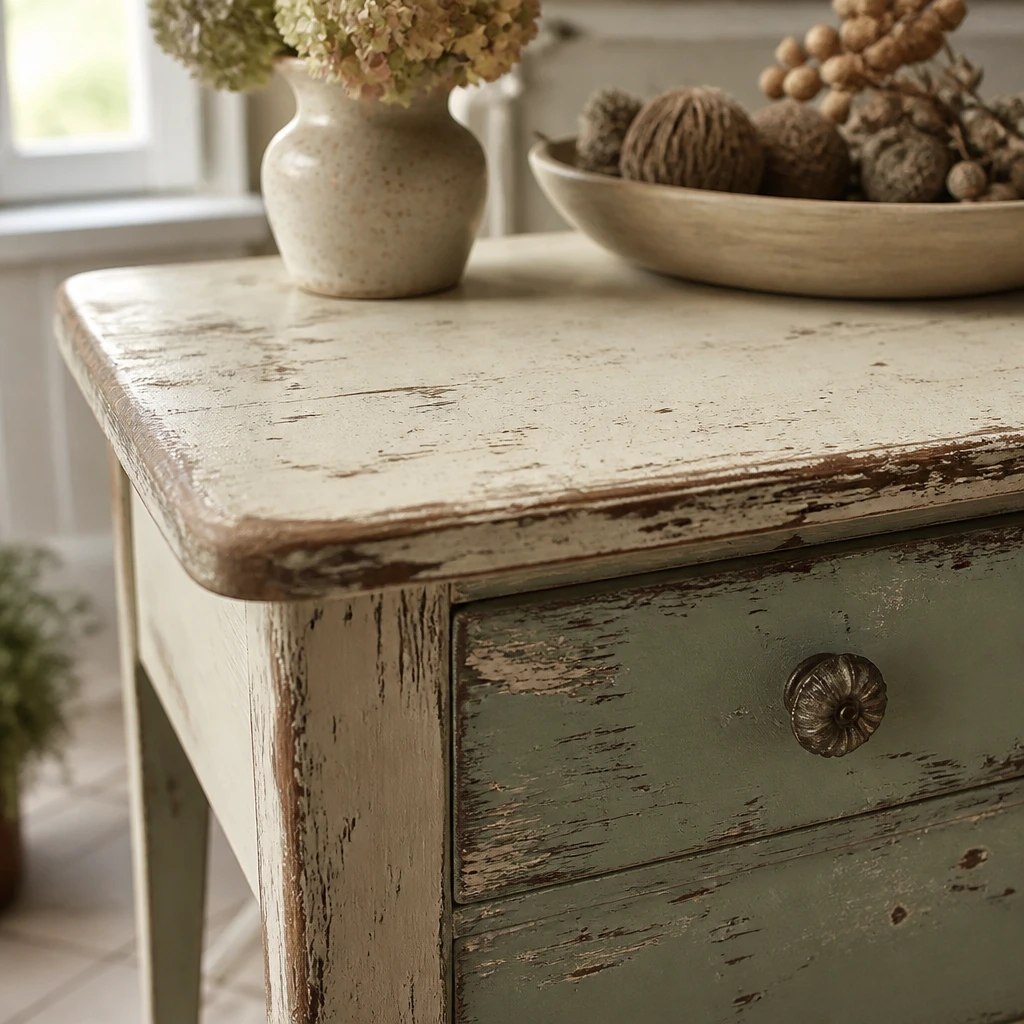
I’ve used milk paint to bring a beautiful, authentic vintage look to old wooden furniture. The paint adheres well without stripping layers, creating a unique texture I love. It’s also non-toxic, so it’s safe for indoor projects and kids’ rooms.
Pro Tip: Use a pre-mixed milk paint for a smoother, easier application.
2. Adding Gold Leaf Accents to Side Tables
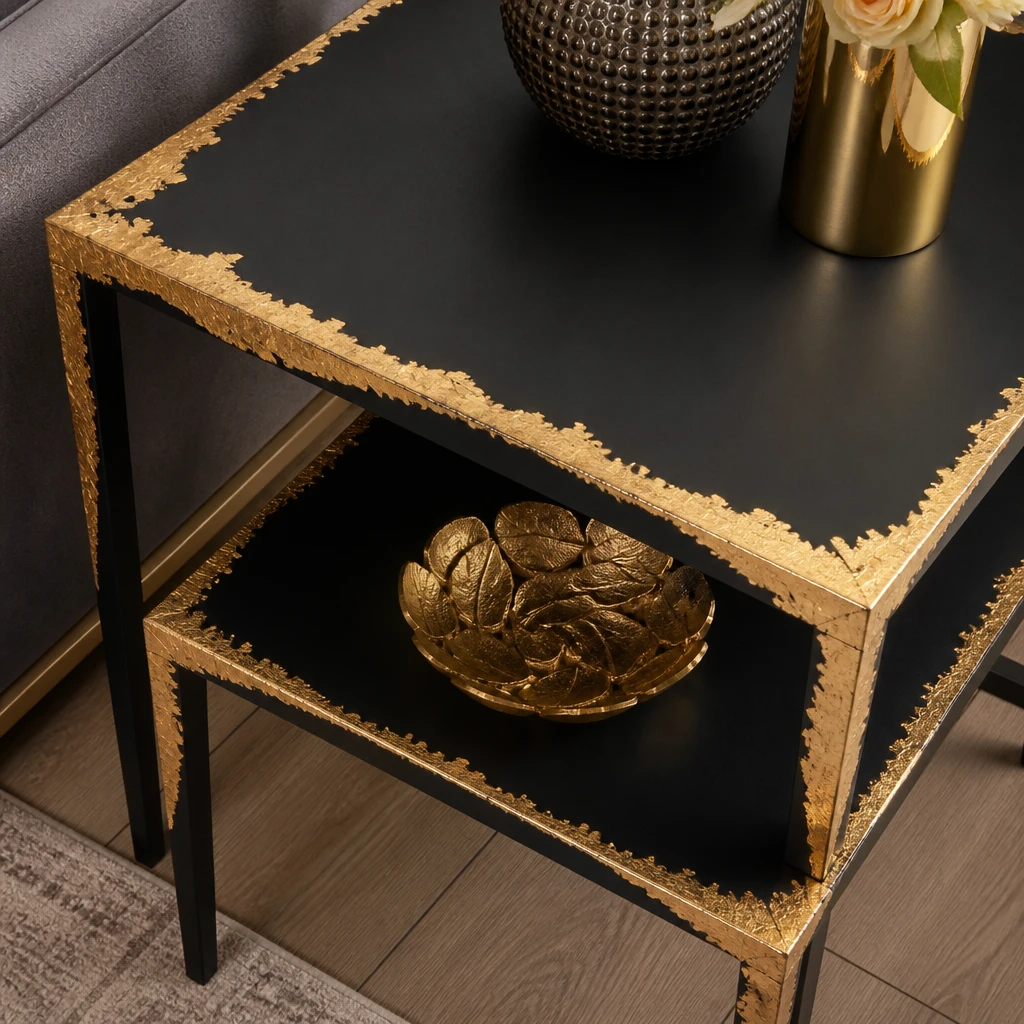
In my experience, adding gold leaf accents can instantly elevate side tables and nightstands. I carefully apply the adhesive and press the gold leaf with a soft brush for a delicate shimmer effect. It creates a luxurious statement piece without the cost of real gold fixtures.
Pro Tip: Press gold leaf gently to avoid tearing and use a soft brush to smooth edges.
3. Distressing Painted Furniture for Rustic Charm
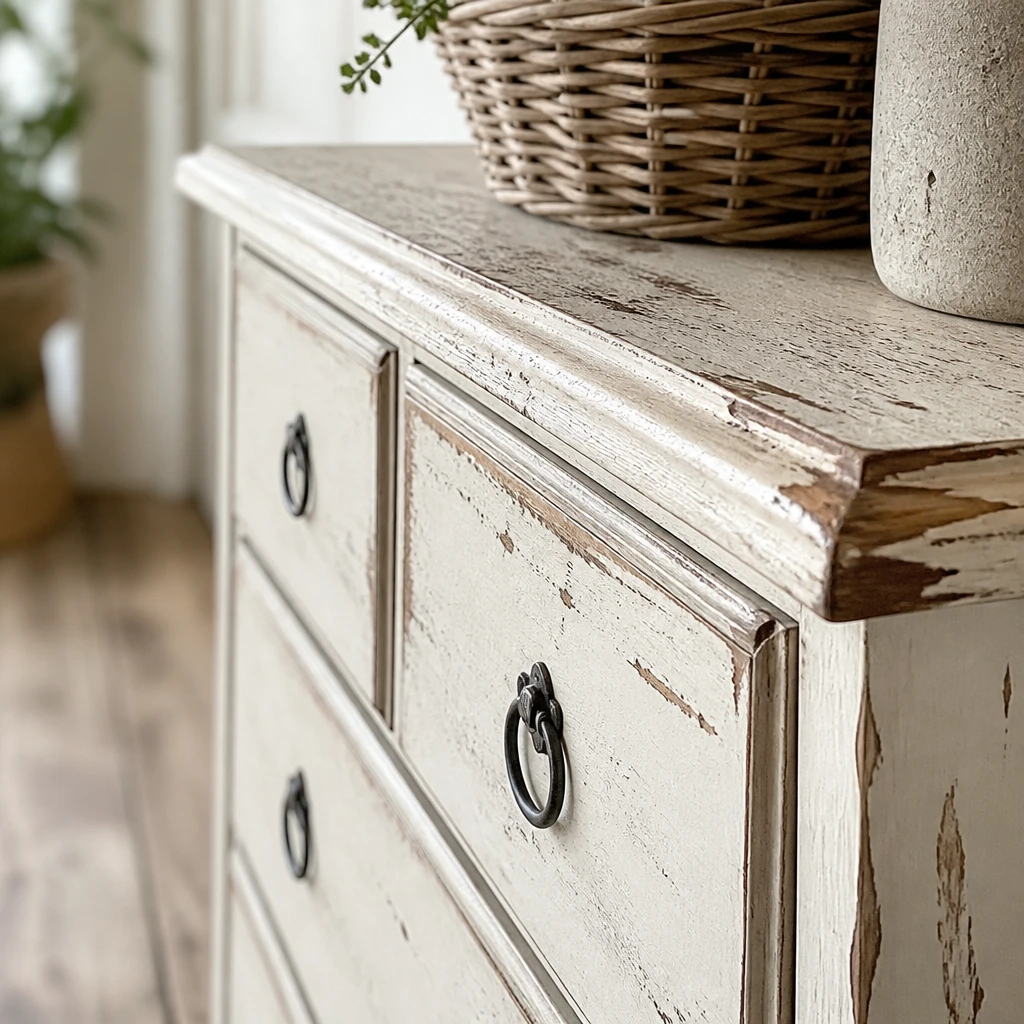
I’ve found distressing painted furniture is a go-to method for adding rustic charm to any room. By sanding edges and corners after painting, I reveal the natural wood underneath for a weathered look. This technique works beautifully on dressers, cabinets, and bookshelves.
Pro Tip: Sand lightly to create natural-looking wear without damaging the surface.
4. Reupholstering Dining Chairs with Bold Fabrics
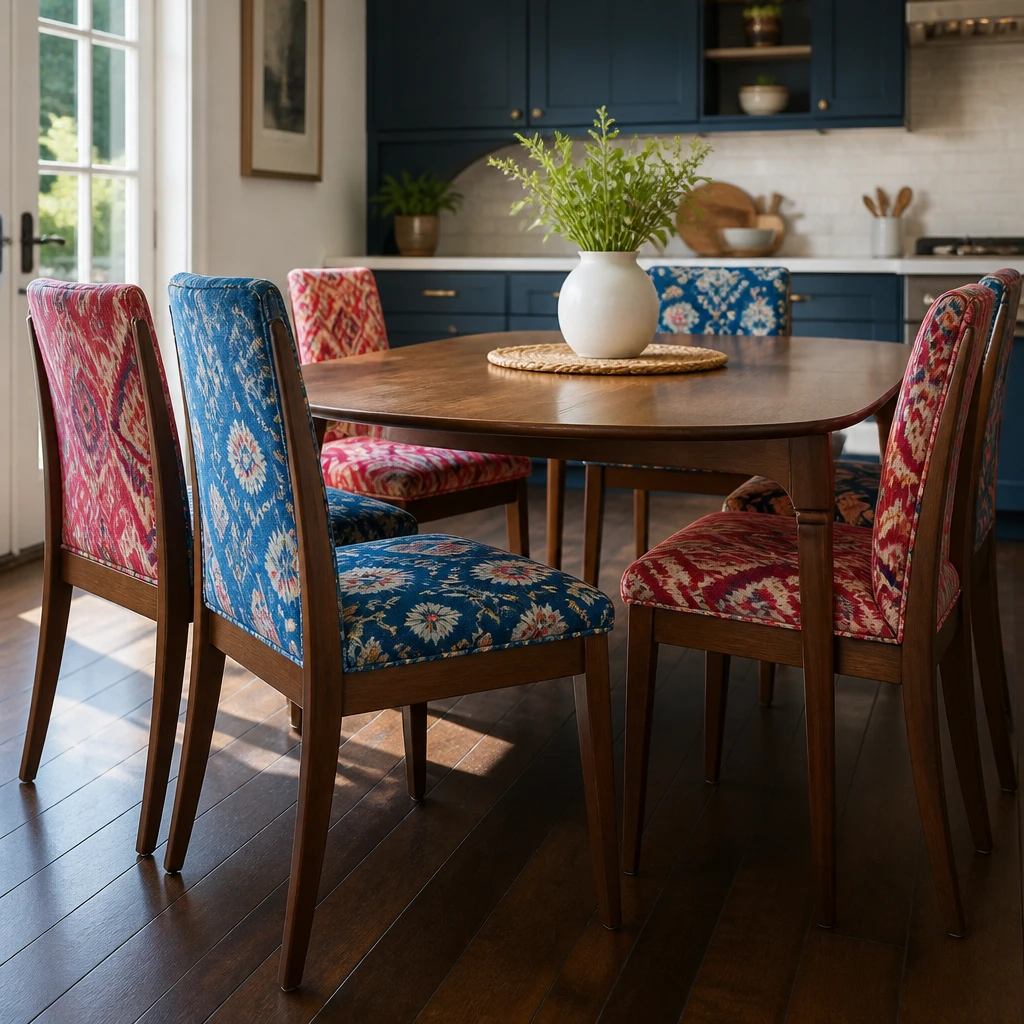
I always choose bold, colorful fabrics when reupholstering dining chairs to add fresh energy to my dining space. Removing old upholstery and rebuilding cushions takes time but transforms the feel completely. Mixing patterns with solid fabrics has become my favorite way to create visual interest.
Insight: I find choosing durable, easy-to-clean fabrics essential for everyday furniture.
5. Creating Open Shelving from Old Cabinets
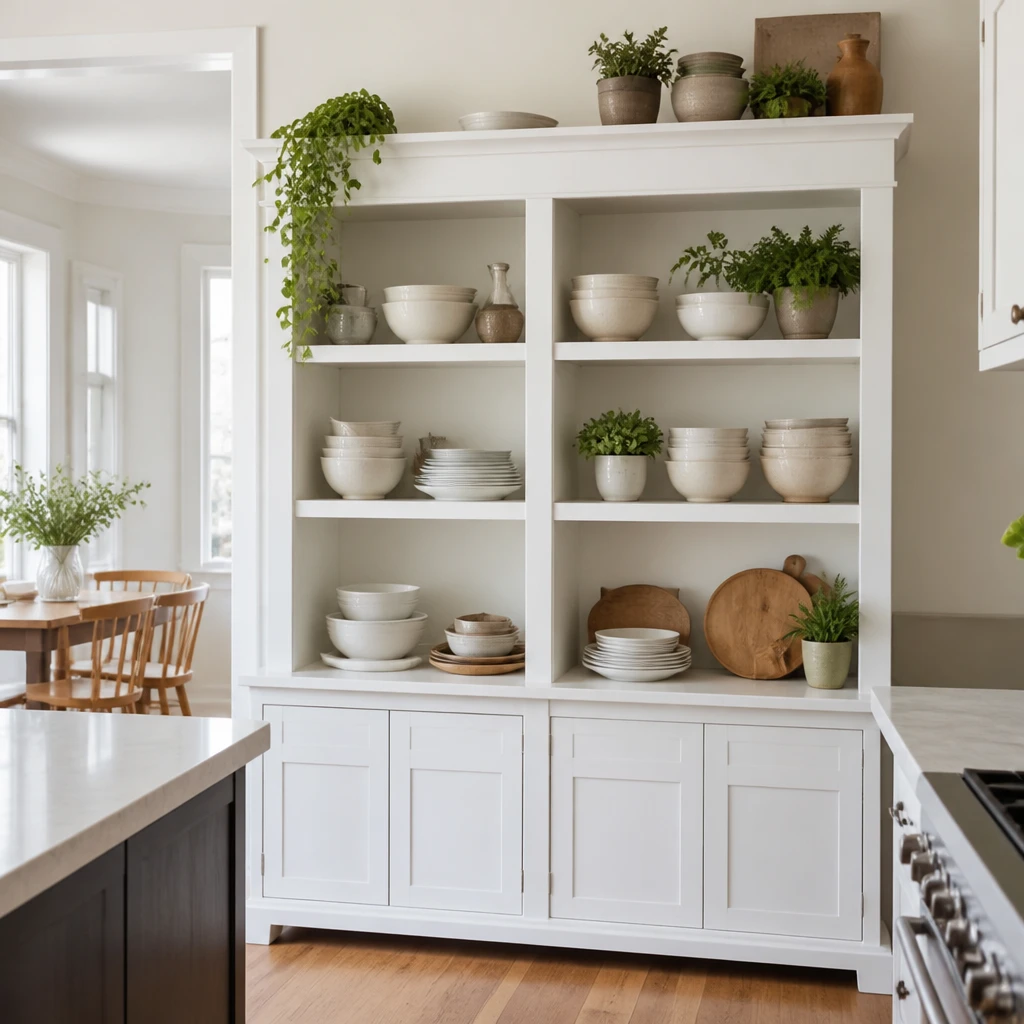
I like to convert outdated cabinets into open shelving by removing doors and repainting the structure. This style makes kitchens or living rooms feel airier while showcasing cherished decor. Adding stylish brackets or trim enhances the overall look, making it a standout feature.
Fact: Open shelving increases accessibility and encourages organized decoration.
6. Incorporating Mirrored Panels on Dressers
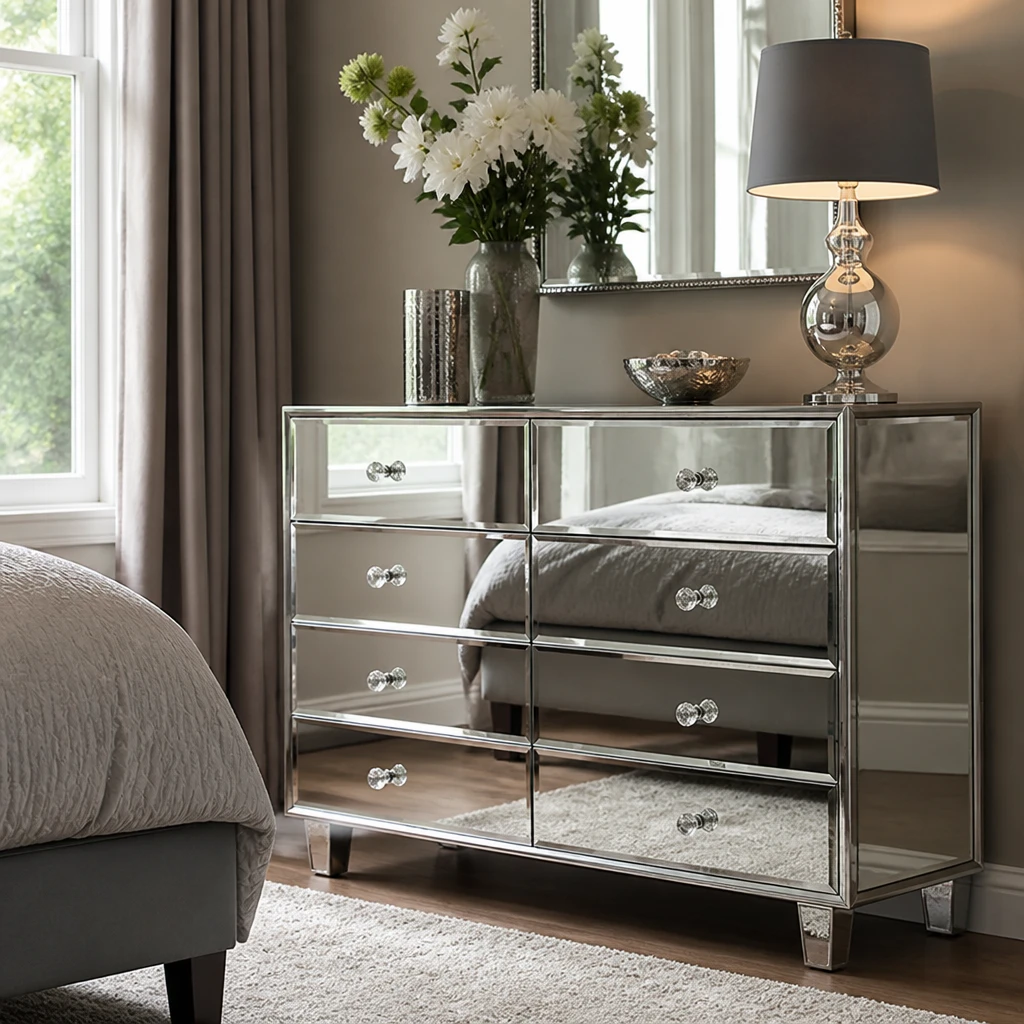
Adding mirrored panels to dresser drawers is one of my favorite ways to modernize classic designs. Mirrors reflect light and visually expand space, making bedrooms feel larger. I carefully measure and attach panels using mirror adhesive, taking extra care around edges.
Pro Tip: Clean surfaces thoroughly before applying mirrored panels to ensure adhesion.
7. Using Chalkboard Paint on Cabinet Doors
I often paint cabinet doors with chalkboard paint to combine function and style in kitchens or offices. This gives me a writable surface for notes, menus, or markings without sacrificing aesthetics. Plus, chalkboard paint comes in various colors to match different decor themes.
Insight: I appreciate how chalkboard paint encourages creativity and organization.
8. Transforming Old Drawers into Storage Benches
I love repurposing old drawers by stacking and reinforcing them to create charming storage benches. This project adds seating and hidden space simultaneously, ideal for entryways or bedrooms. Painting and cushioning the bench top finishes the transformation perfectly.
Pro Tip: Secure stacked drawers firmly with wood glue and screws for safety.
9. Adding Leather Pull Handles to Drawers
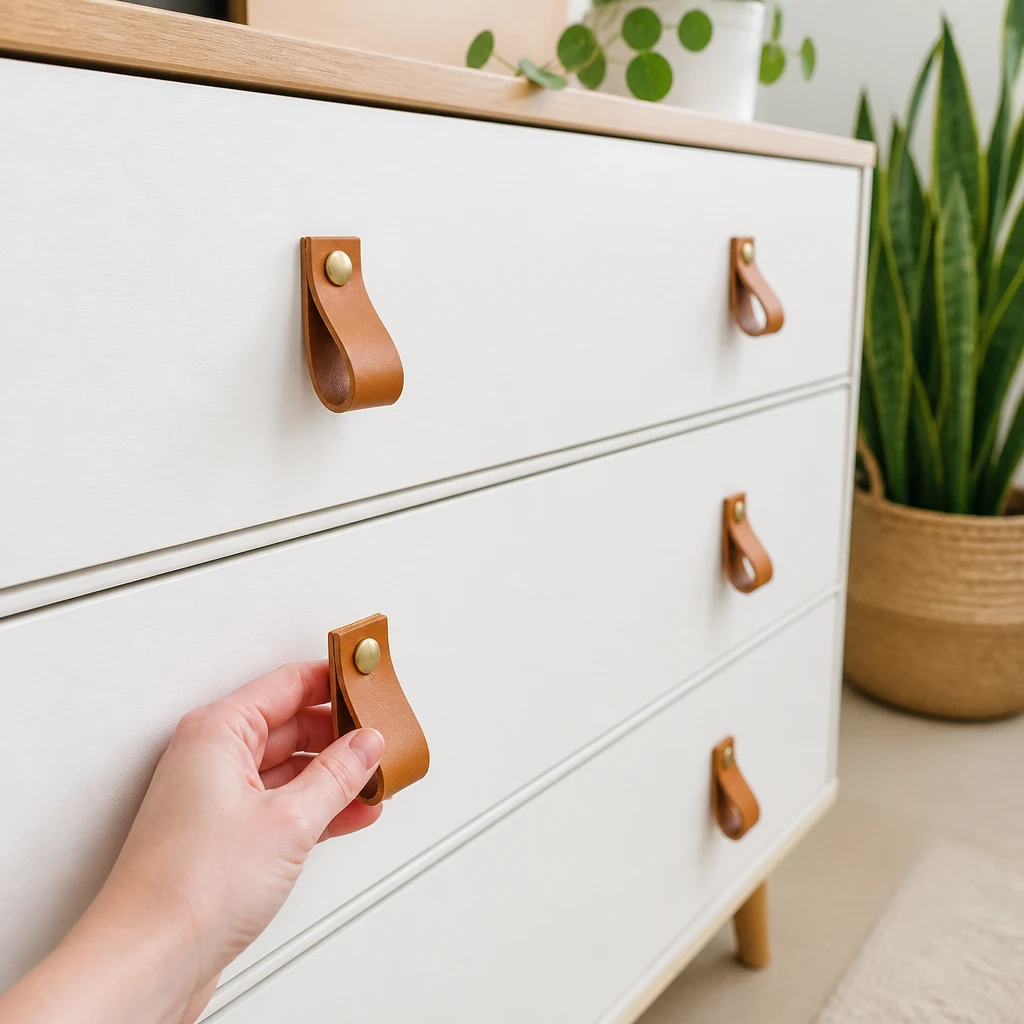
In my experience, leather pull handles give furniture a sophisticated yet casual vibe that complements multiple styles. Replacing old knobs or metal pulls with leather strips is surprisingly simple and affordable. This tactile addition elevates both the look and feel of drawers and cabinets.
Pro Tip: Choose vegetable-tanned leather for durability and better aging.
10. Applying Decorative Stencils to Tables
I’ve discovered that decorative stencils can add personality and style to plain tabletops without effort. Using water-based paint and reusable stencils allows me to customize colors and patterns freely. This method is perfect for coffee tables or bedside tables to create unique statement pieces.
Pro Tip: Use painter’s tape to firmly secure stencils and avoid paint bleed.
11. Replacing Glass with Acrylic Panels
Sometimes I swap out old or fragile glass panels in furniture with acrylic alternatives for safer, lighter results. Acrylic panels resist shattering and are easier to handle during installation. It’s a great adjustment for cabinets, display cases, and tabletops, especially in homes with kids or pets.
Fact: Acrylic is up to 10 times more impact resistant than glass.
12. Painting Ombre Effects on Bookshelves
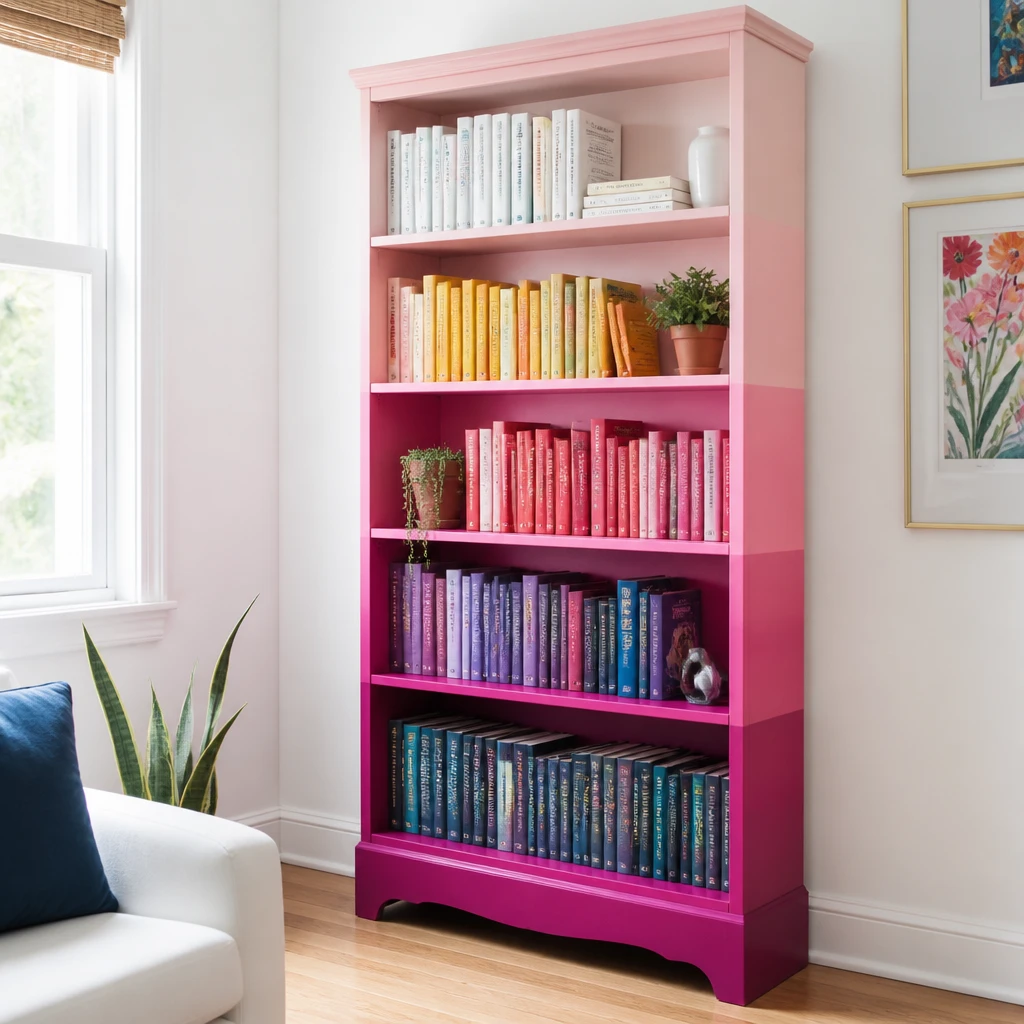
I experimented with painting ombre effects on bookshelves to add depth and color variation that feels fresh and modern. Gradually blending colors from light to dark makes shelves a dynamic focal point. It also helps integrate books and decor items by adding a subtle background gradient.
Insight: I find ombre painting is both a fun creative challenge and a great personalization method.
13. Installing Under-Cabinet LED Lights
For me, installing under-cabinet LED lights transforms the utility and mood of renovated furniture instantly. It adds warm or cool illumination that highlights design details and improves usability. I prefer battery-operated options for easier installation without visible wires.
Pro Tip: Plan your lighting layout before installation for even coverage.
14. Swapping Out Legs for Metal Hairpin Styles
I’ve replaced bulky or dated furniture legs with sleek metal hairpin legs for a mid-century modern touch. These legs lift pieces off the floor, creating a lighter visual weight and enhancing air flow beneath. Installing them is straightforward with basic tools and provides an instant style upgrade.
Pro Tip: Measure furniture corners precisely to align hairpin legs evenly.
15. Adding Peel-and-Stick Veneer to Tabletops
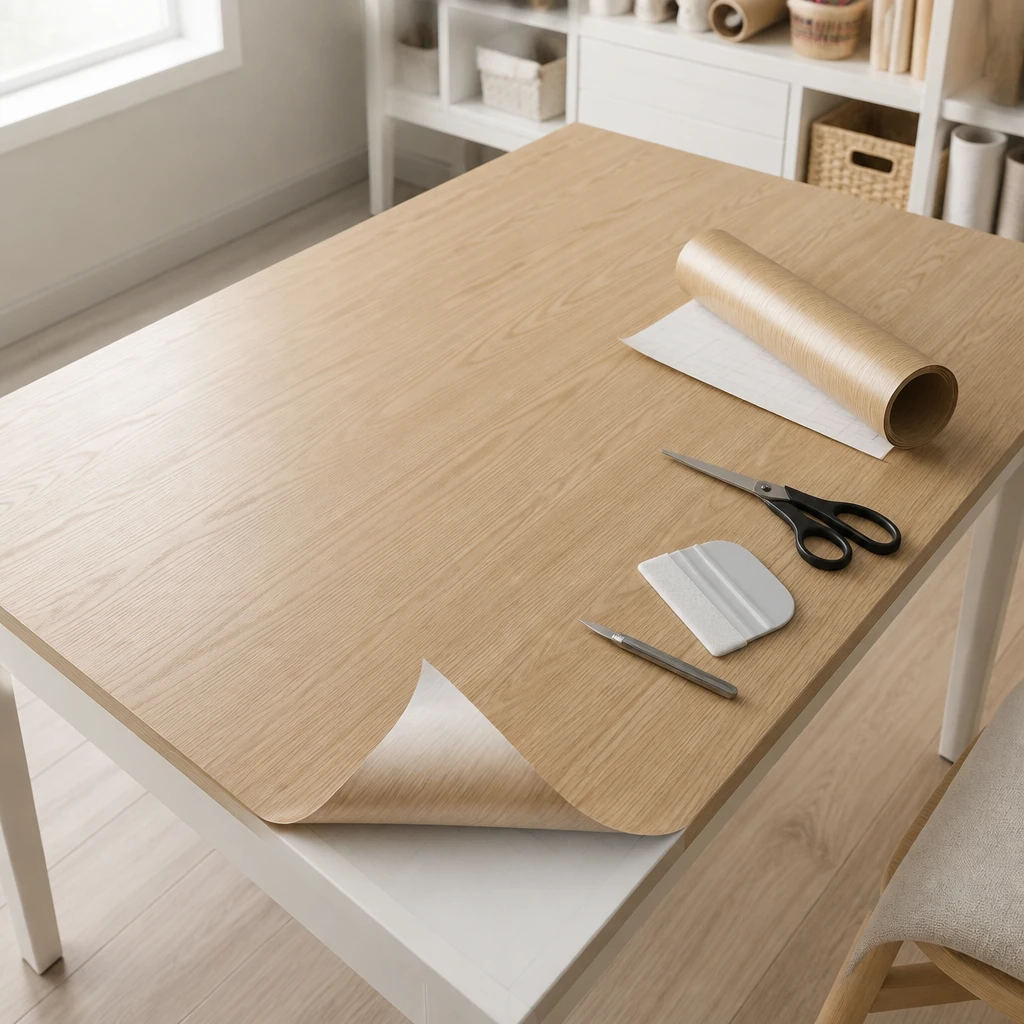
I tested peel-and-stick veneer as a fast, mess-free way to revamp tabletops without sanding or heavy refinishing. These veneers come in wood grain, marble, and patterned designs to suit many styles. Applying slowly and smoothing air bubbles carefully ensures a flawless finish every time.
Pro Tip: Start applying veneer from one edge and use a rolling pin to smooth it evenly.
16. Using Epoxy Resin for a Glossy Finish
When I want to seal and enhance wood furniture with a glossy, durable finish, I turn to epoxy resin. Mixing and pouring resin creates a thick, glass-like surface that protects against water and scratches. It requires proper ventilation and careful layering, but the result is stunningly professional.
Fact: Epoxy resin is waterproof and heat resistant once fully cured.
17. Incorporating Geometric Patterns with Tape
I’ve used painter’s tape to create geometric patterns on furniture surfaces for a modern, graphic look. Taping shapes before painting ensures crisp edges and a professional appearance. This technique adds wow-factor with minimal effort and can be customized by choosing bold or subtle colors.
Pro Tip: Remove tape while paint is slightly wet to avoid peeling.
18. Converting Drawers into Plant Holders
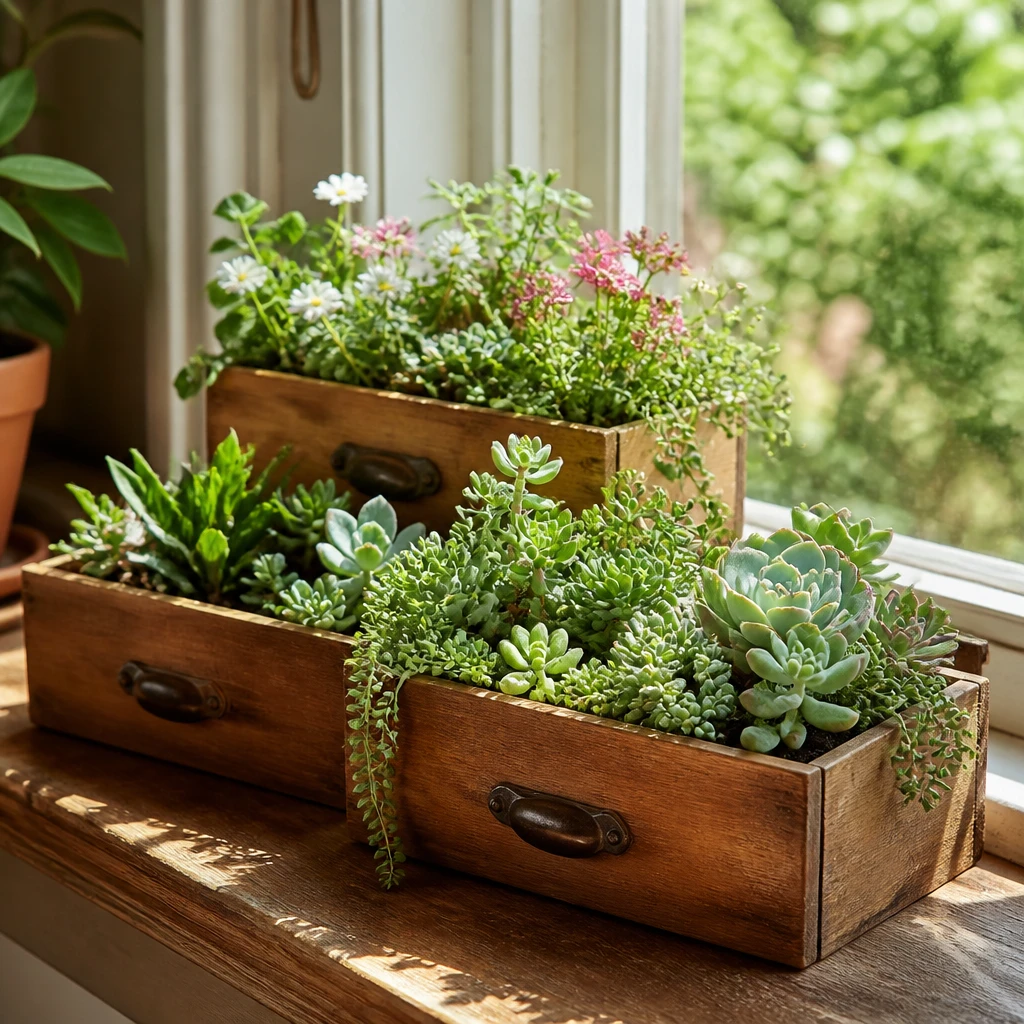
I like to repurpose shallow drawers into garden plant holders by reinforcing and sealing them for moisture resistance. Arranging these on patios or indoor shelves adds a whimsical, personalized gardening element. I line the interiors with plastic before filling them with soil and plants to protect wood.
Insight: I find the natural wood and green combination brings warmth and freshness indoors.
19. Refinishing Metal Furniture with Rust-Proof Paint
I make a point to refurbish metal furniture by sanding off rust and applying rust-proof paint for long-lasting protection. This not only improves appearance but also extends the furniture’s lifespan outdoors or in humid spaces. Matte or satin finishes give a sleek modern look I prefer.
Pro Tip: Apply a metal primer first to achieve optimal rust resistance.
20. Customizing with Decoupage Art
In some projects, I enjoy using decoupage to customize furniture surfaces with paper art, photographs, or specialty prints. The layering and sealing process creates a distinct, textured appearance that draws attention. I always seal with multiple clear coats for durability and smoothness.
Fact: Decoupage became popular in European furniture decoration during the 17th century.
21. Painting Ombre Drawer Fronts
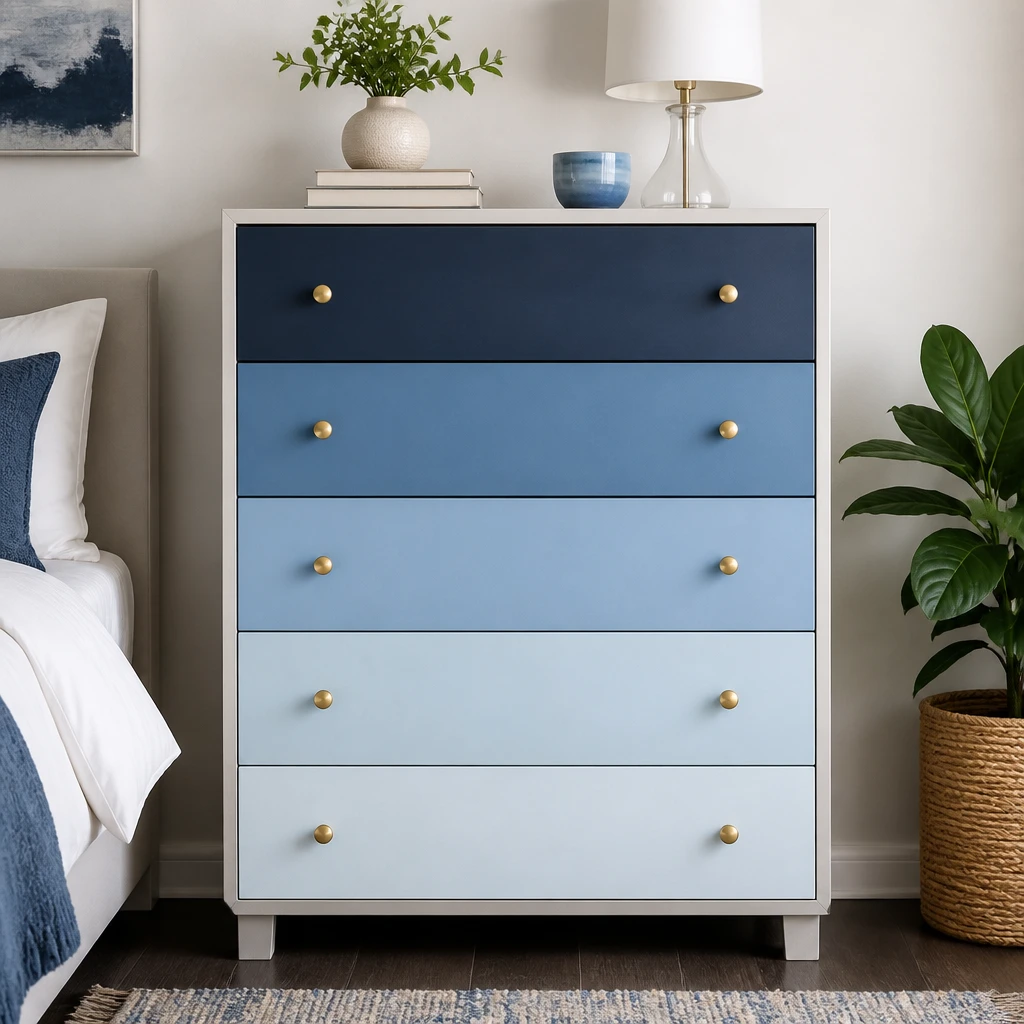
I find painting ombre effects on drawer fronts creates a subtle yet stylish gradient that updates dressers and chests beautifully. Blending hues from top to bottom adds dimension and a trendy vibe without overwhelming the piece. It’s a creative way to inject color while maintaining simplicity.
Pro Tip: Use a makeup sponge to blend paint gently between shades for smooth gradients.
22. Adding Moroccan-Inspired Tile Insets
I’ve enhanced tabletops and cabinet doors by embedding Moroccan-style ceramic tile insets for a colorful, artistic flair. These tiles add a touch of global style and work well with neutral painted furniture. Attaching tiles with strong adhesive and sealing grout properly ensures durability.
Pro Tip: Use waterproof grout and sealant to protect tile insets in high-use areas.
23. Using Metallic Spray Paint on Plastic Furniture
I’ve revived old plastic furniture by applying metallic spray paint for a sleek, contemporary appeal. This quick fix turns simple outdoor chairs and tables into statement pieces with a reflective finish. I always sand lightly and use a primer designed for plastic before spraying for best results.
Pro Tip: Spray in many thin layers to avoid drips and uneven texture.
24. Lint-Free Cloths for Polishing Wood
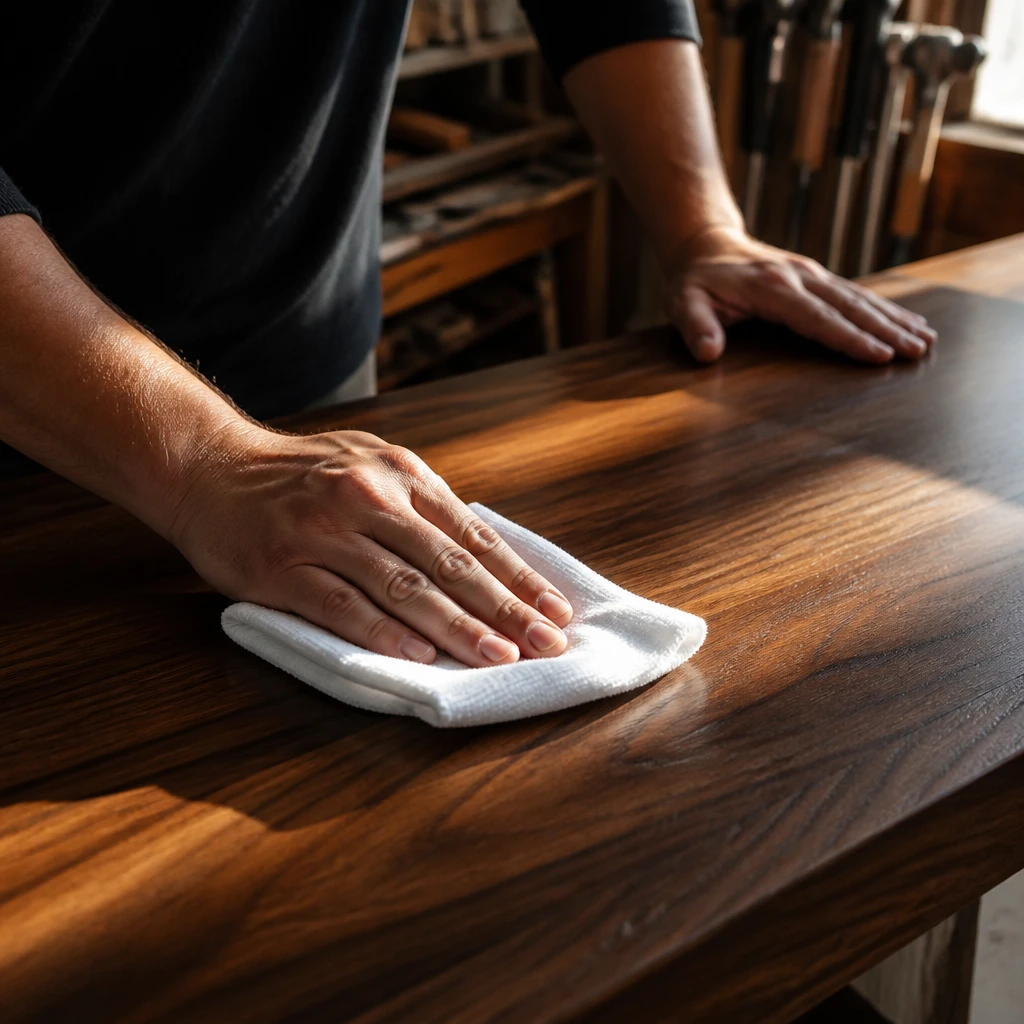
I rely on lint-free cloths for polishing wood furniture after staining or waxing to get a smooth, clean finish without residue. Using the wrong cloth can leave fibers embedded in the surface, ruining the appearance. I prefer microfiber or fine cotton cloths to achieve a refined final look every time.
Fact: Lint-free cloths reduce streaks and dust marks on finished wood surfaces.
25. Replacing Laminate with Hardwood Veneer
When I want to upgrade laminate furniture, I often replace the surface with a thin hardwood veneer for a richer, more authentic look. Veneer offers the warmth of natural wood and pairs well with modern or traditional designs. I make sure to glue flat and clamp properly for a smooth bond.
Insight: I notice veneer can transform budget pieces into heirloom-quality furniture.
26. Transforming Old Dressers with Coastal Cottage Flair
I love giving outdated dressers a fresh look by infusing them with a coastal cottage vibe that brings calm and brightness to any room. I typically sand down the surfaces and repaint in soft pastel blues or seafoam greens, then distress gently to mimic weathered seaside wood. To finish, I replace knobs with nautical-inspired hardware like rope-wrapped pulls or shells, which really completes the theme beautifully.
Pro Tip: Use fine-grit sandpaper to gently distress painted surfaces for an authentic coastal look.
27. Upcycling Metal Chairs into Industrial Chic Statement Pieces
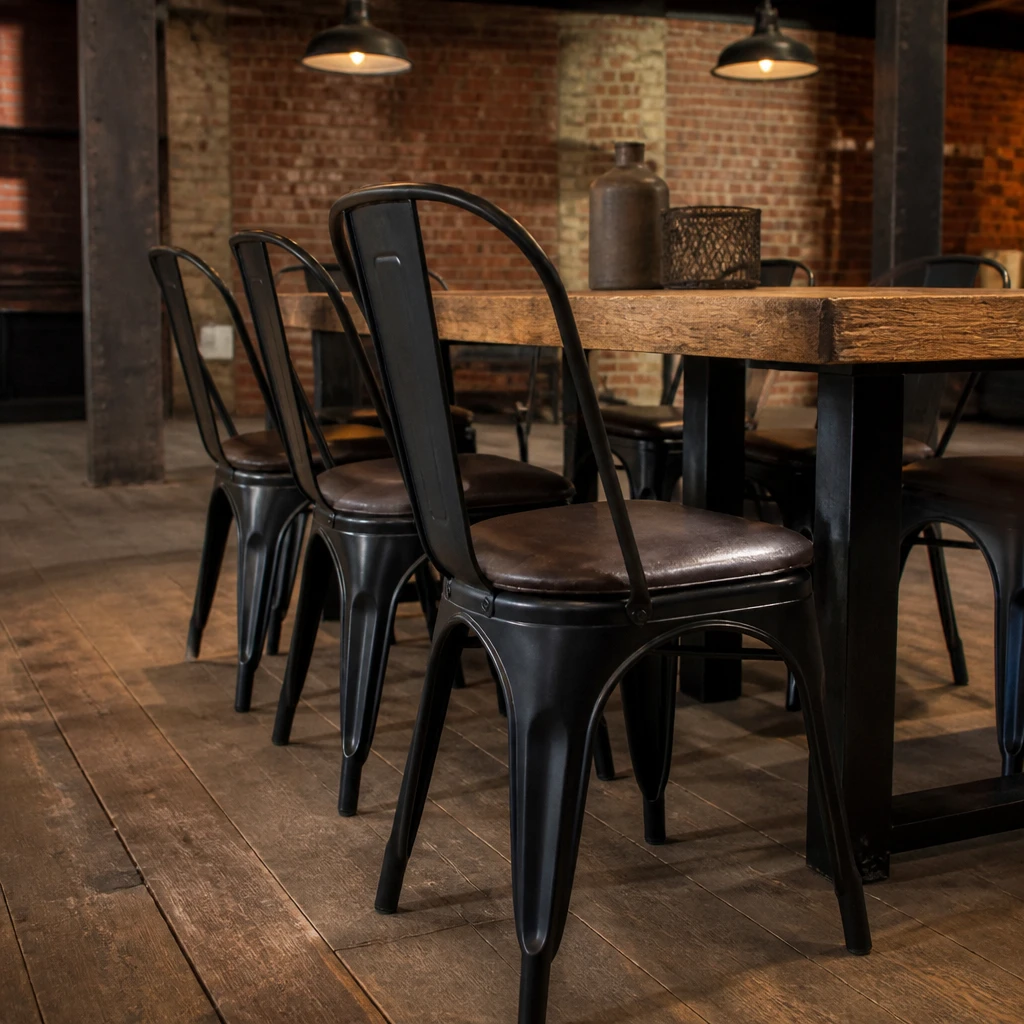
I always find metal chairs to be perfect candidates for industrial chic makeovers that add an edgy, urban feel to any space. I start by peeling off old paint and treating any rust before spraying on a matte black or charcoal finish for that sleek, raw metal look. Adding leather or wood seat cushions softens the harshness while keeping the chairs very functional and stylish as eye-catching accent pieces.
Insight: I’ve noticed that combining metal with warm textures like leather balances both durability and comfort beautifully.
Conclusion
These 27 DIY furniture renovation ideas have enriched my home with beautiful, personalized pieces suited for 2026 trends. From simple paint upgrades to creative repurposing, each idea is accessible with patience and proper tools. I encourage you to experiment and find your favorite techniques to bring new life to old furniture.