How to Make DIY Ring Toss Game – Ultimate Guide for 2026
I’ve always loved creating fun, interactive games that bring people together, so I decided to develop the perfect DIY ring toss game for 2026. In this guide, I’ll take you step-by-step through the materials, construction, and creative tips to build an engaging ring toss setup that suits any occasion. Whether for backyard parties or family gatherings, I’ve tested and refined this game to make it both durable and visually appealing.
Key Takeaways
- Use lightweight but sturdy materials like PVC pipes and wooden rings for easy handling.
- Customize your ring toss game with vibrant colors to match any theme or event.
- Create adjustable target heights for varied difficulty and more fun challenges.
- Incorporate simple safety features, especially when playing with kids.
- Store your DIY ring toss game compactly to prolong its longevity and ease transport.
1. Choosing the Right Materials
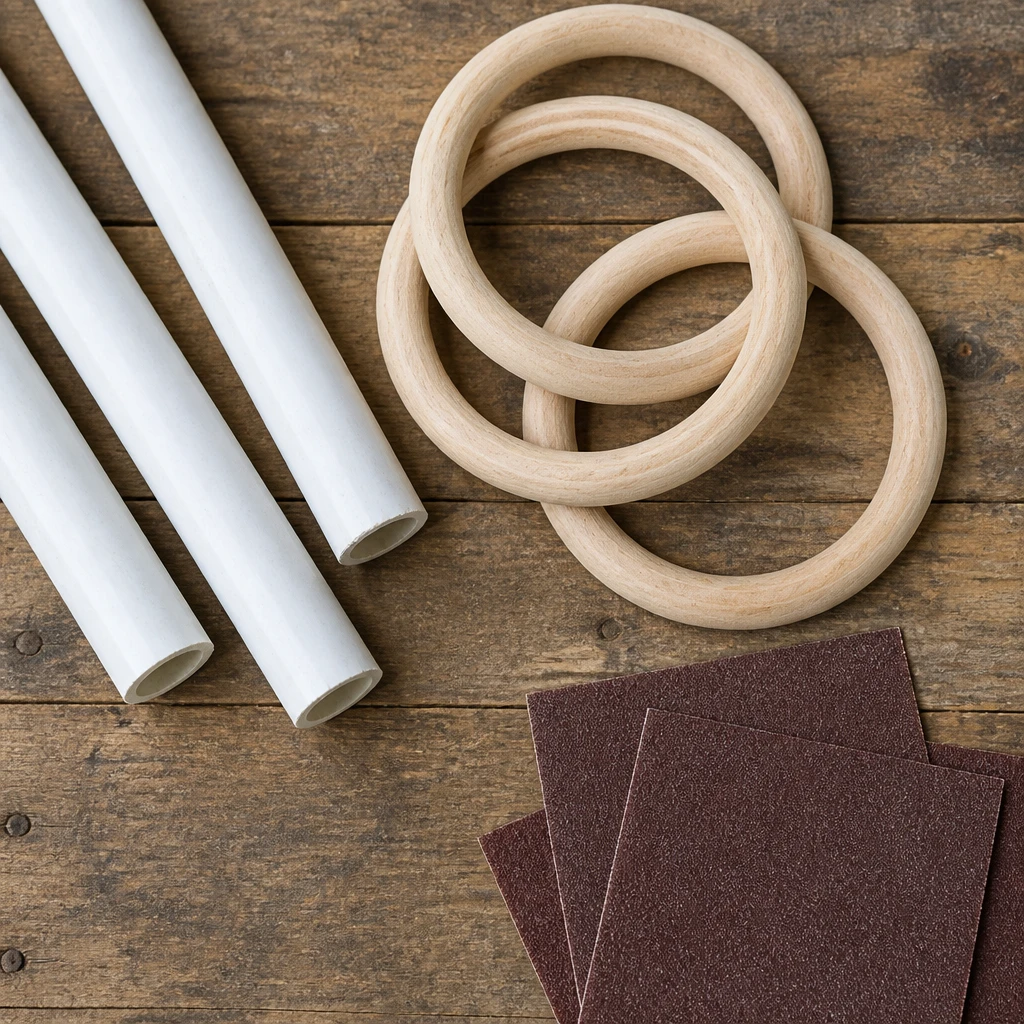
I always start by picking materials that balance durability and lightness, like PVC pipes for the frame and smooth wooden rings. It’s important the rings aren’t too heavy; otherwise, they won’t toss well or could cause damage. I recommend testing a few materials before committing so you get one that’s weather-resistant if you want an outdoor setup.
Pro Tip: Select weatherproof materials to extend the lifespan of your ring toss game outdoors.
2. Gathering Your Tools
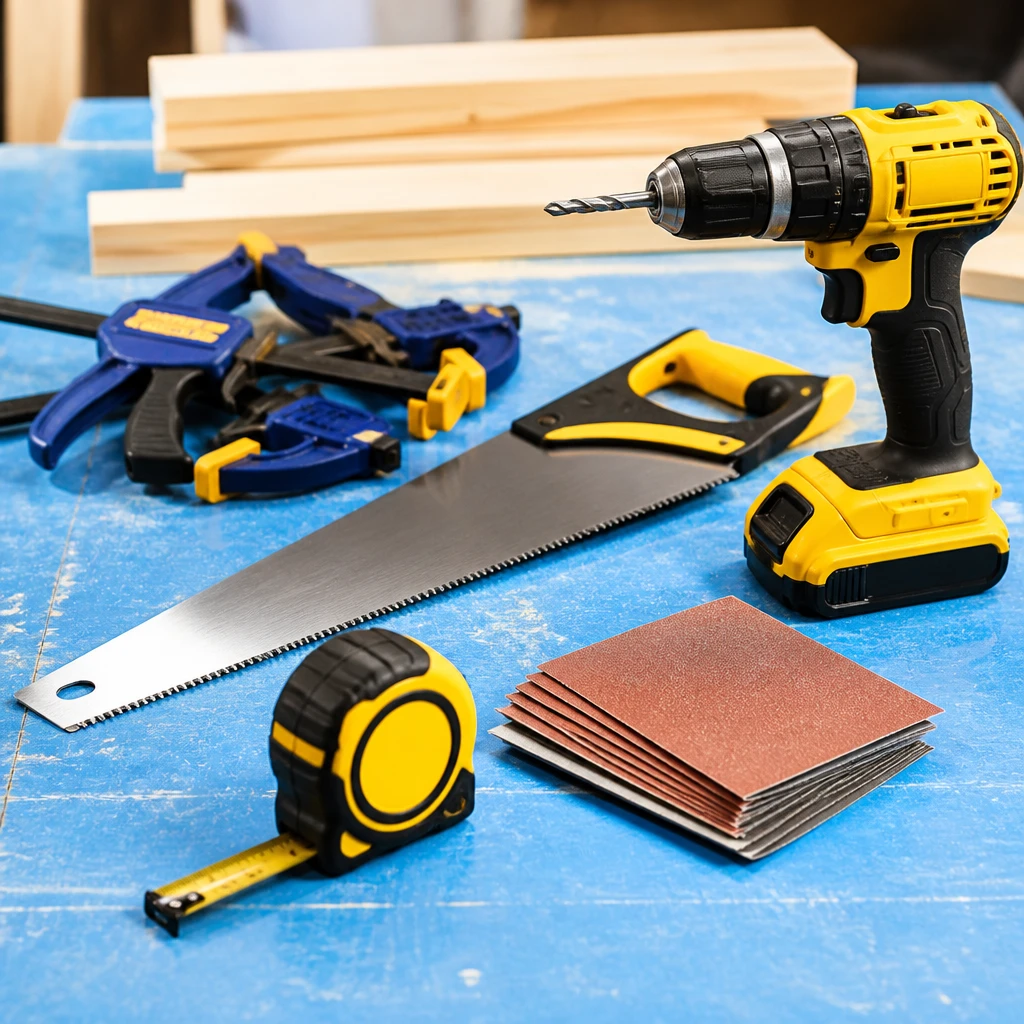
I always prepare the necessary tools upfront like a handsaw, drill, measuring tape, and sandpaper to smooth the ring edges. Having everything on hand makes building the game more efficient and enjoyable. In my experience, also having some clamps helps hold pieces steady while you work on them.
Pro Tip: Organize all your tools before starting construction for a smoother building process.
3. Constructing the Frame
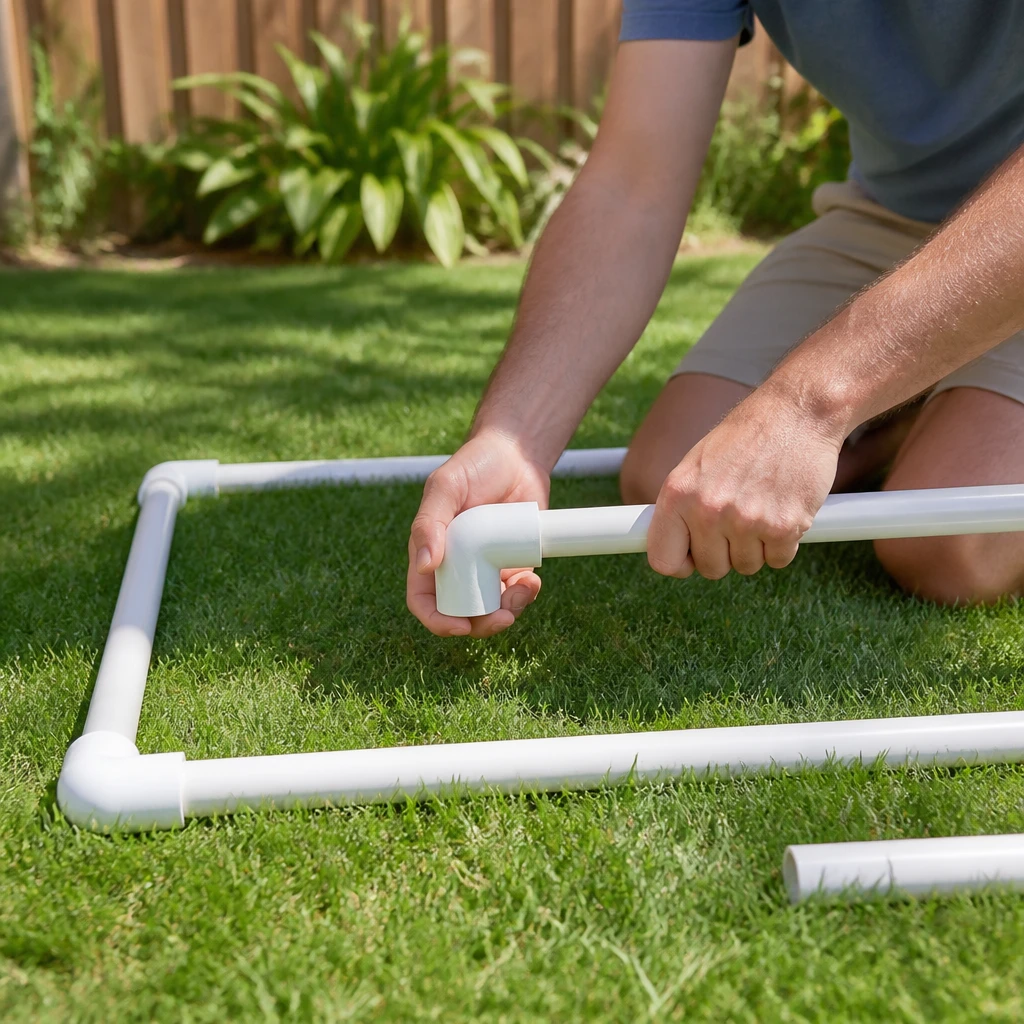
For the frame, I cut PVC pipes to size based on the playing area I want and connected them with elbow joints for stability. I appreciate using PVC because it’s lightweight and easy to assemble without heavy equipment. The frame needs to be sturdy to stand up during gameplay but also easy to disassemble for storage.
Pro Tip: Use elbow joints to create a stable, easy-to-assemble frame for your ring toss game.
4. Making the Rings
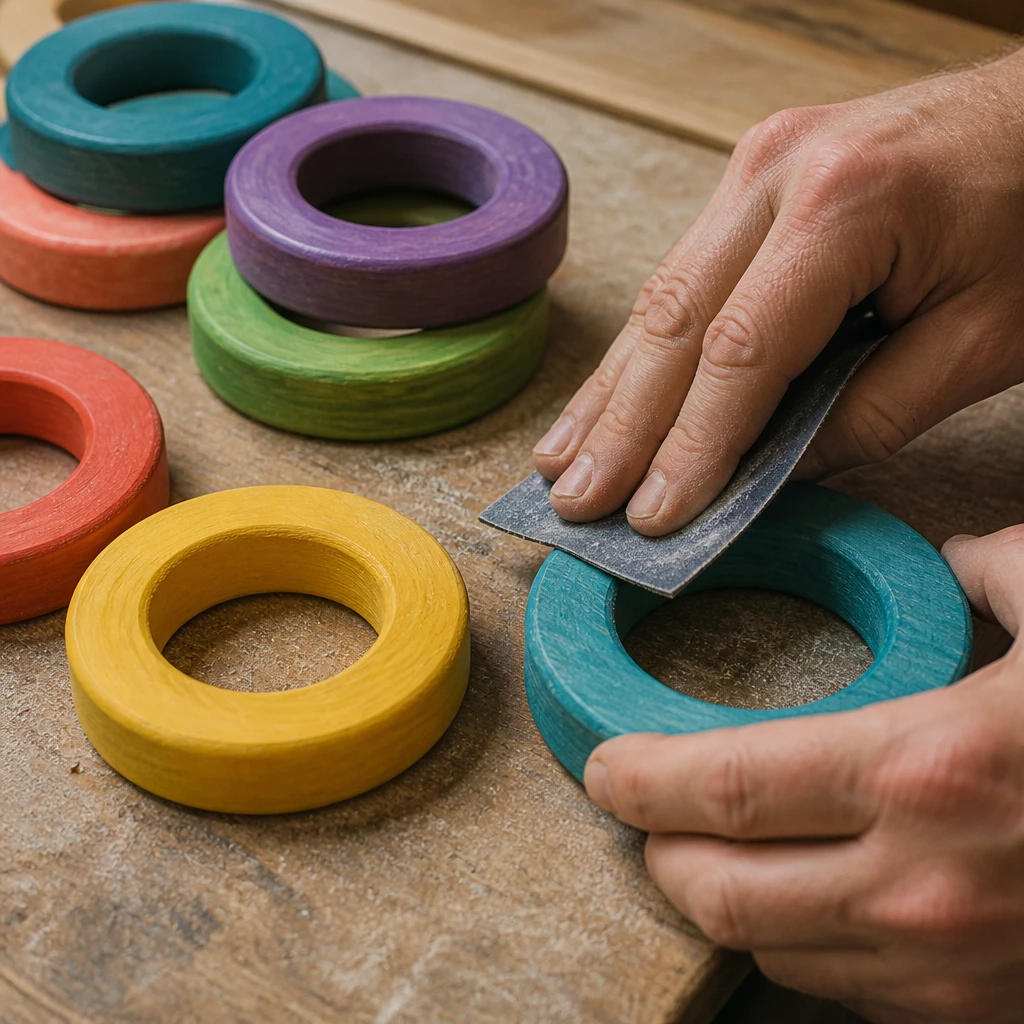
I cut wooden discs into ring shapes and sanded each edge multiple times until the surface was perfectly smooth. It’s crucial the rings have no splinters to avoid injuries and ensure smooth tossing. Painting them in bright colors also makes them more visible and fun to use during the game.
Pro Tip: Sand rings thoroughly to create safe, smooth edges perfect for tossing.
5. Customizing Your Design
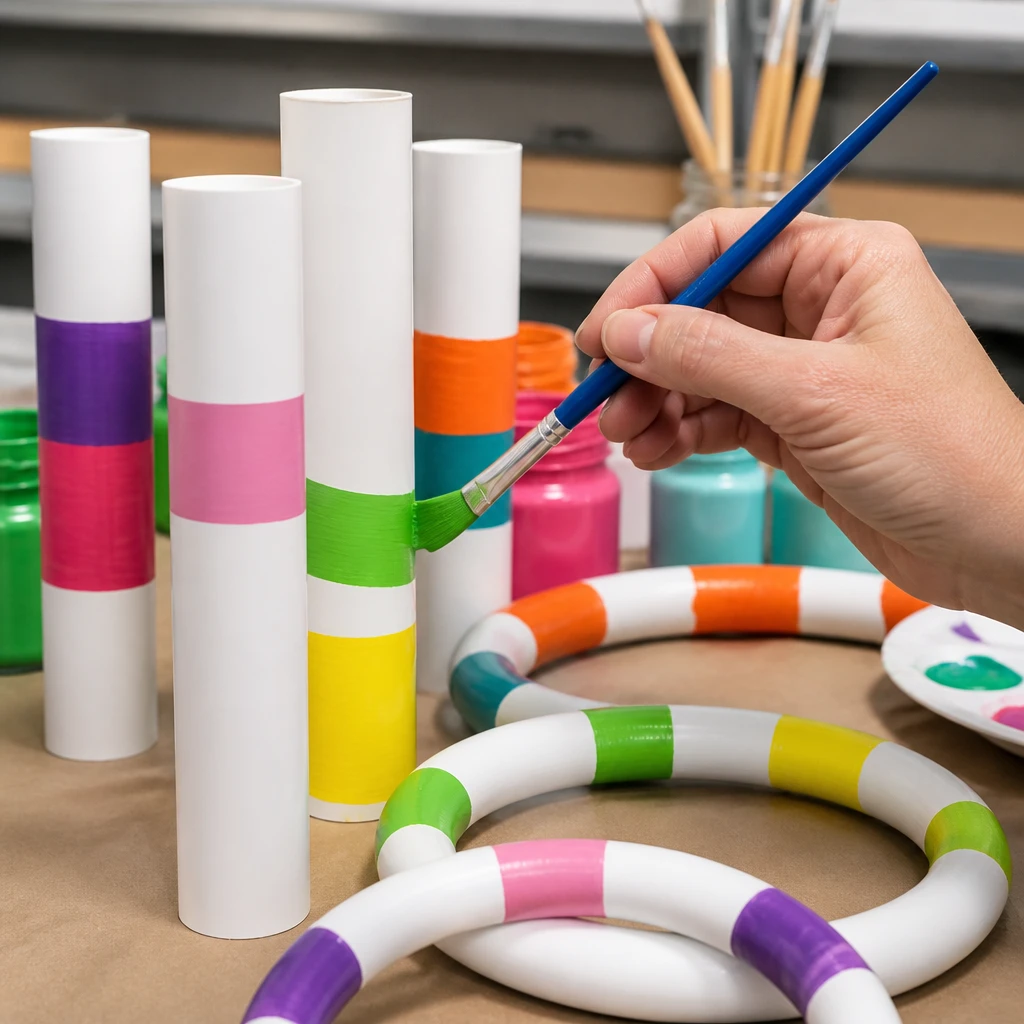
I like to personalize my ring toss game with themed colors or patterns that match my party’s vibe. Whether it’s nautical blues or neon summer hues, painting the frame and rings adds excitement. Custom designs also help the game stand apart and encourage more participation from guests.
Insight: I find custom coloring transforms a simple game into a memorable party focal point.
6. Establishing the Play Area
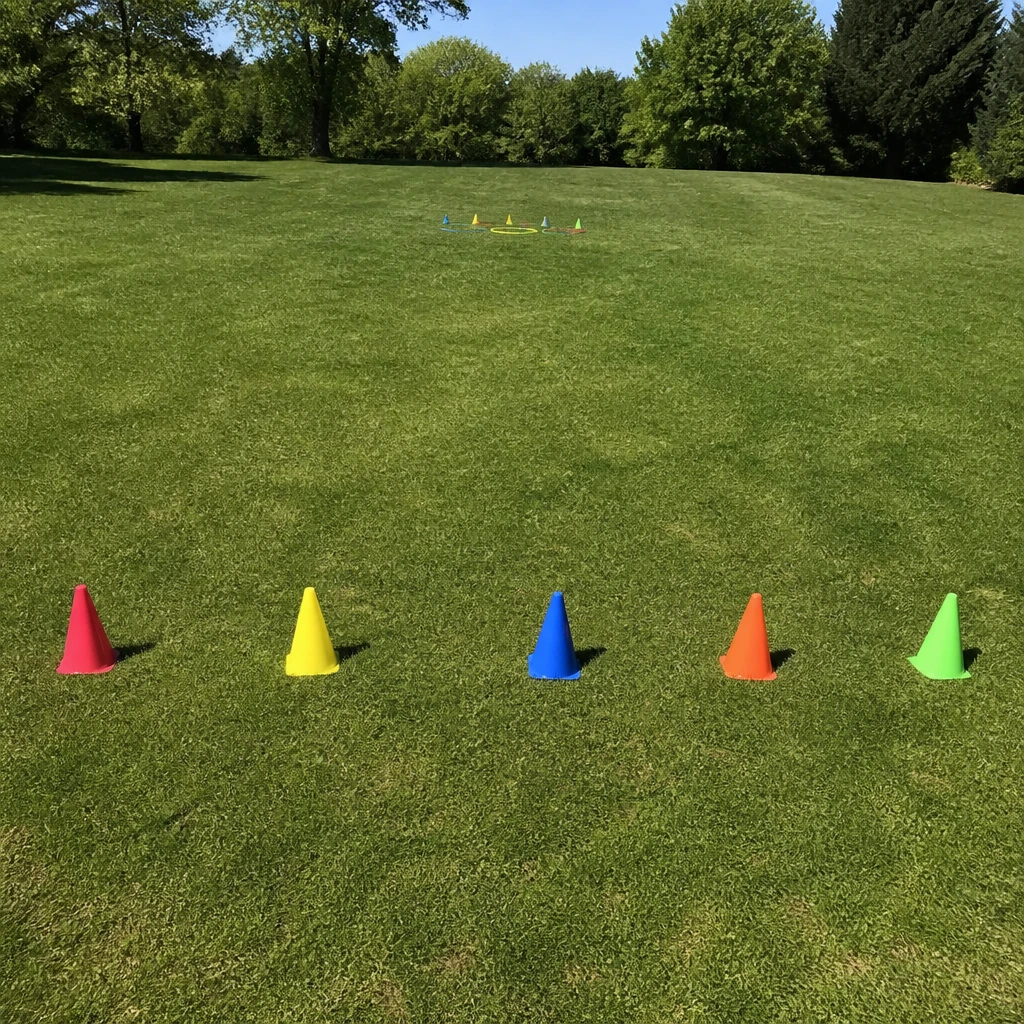
I always set up my ring toss game on a flat, open surface where players have plenty of room to throw. Grass works great outdoors, but indoors a smooth floor with a soft mat underneath prevents slipping. Defining the throwing line clearly with tape or cones ensures fair play and adds to the structure.
Fact: A clearly marked play area significantly improves game fairness and player safety.
7. Adjusting Difficulty Levels
To keep the game fun for all ages, I adjust target heights and distances. I built in multiple target pegs at different levels so players can choose their challenge. Changing ring sizes also influences difficulty, making it easier or harder depending on who’s playing.
Pro Tip: Incorporate adjustable target pegs to create multiple difficulty settings for players.
8. Ensuring Safety During Play
I always remind players to stand behind the throw line and keep an eye on others while tossing rings. Using lightweight rings reduces injury risk if someone accidentally gets hit. In addition, keeping the game area free of tripping hazards makes the experience safe and enjoyable for kids and adults alike.
Pro Tip: Instruct players on safety rules and maintain a clean play area to prevent accidents.
9. Storing Your DIY Ring Toss Game
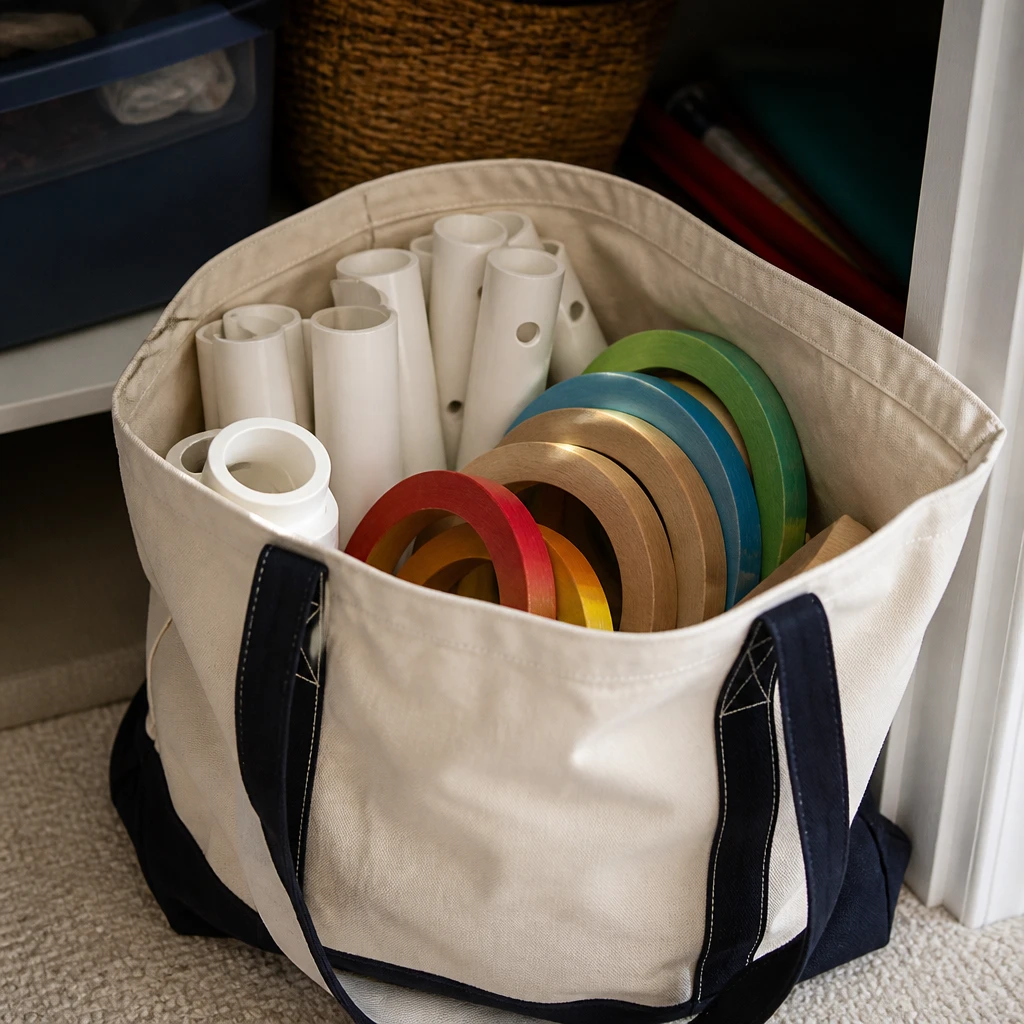
I designed my ring toss components to be disassembled easily so I can store them compactly in a tote bag. Keeping pieces organized not only saves space but also prolongs the life of the materials by protecting them from damage. I always dry and clean everything before storing, especially after outdoor use.
Pro Tip: Disassemble and store your ring toss game components in a single bag to save space and protect parts.
10. Hosting Your First Game Night
I find that explaining the rules clearly and demonstrating a few tosses encourages everyone to jump in and have fun. Adding small prizes or creating team competitions increases excitement and friendly rivalry. In my experience, the ring toss game is a surefire winner to get conversations started and keep guests entertained.
Insight: I’ve seen how a well-run ring toss game instantly livens up any gathering.
Conclusion
Building my own DIY ring toss game has been both a rewarding and fun project that I’m proud to share with you. Following these steps helped me create a durable, customizable game that fits perfectly in any setting and brings people together year after year. I encourage you to try building one too and watch how much joy it adds to your gatherings in 2026.